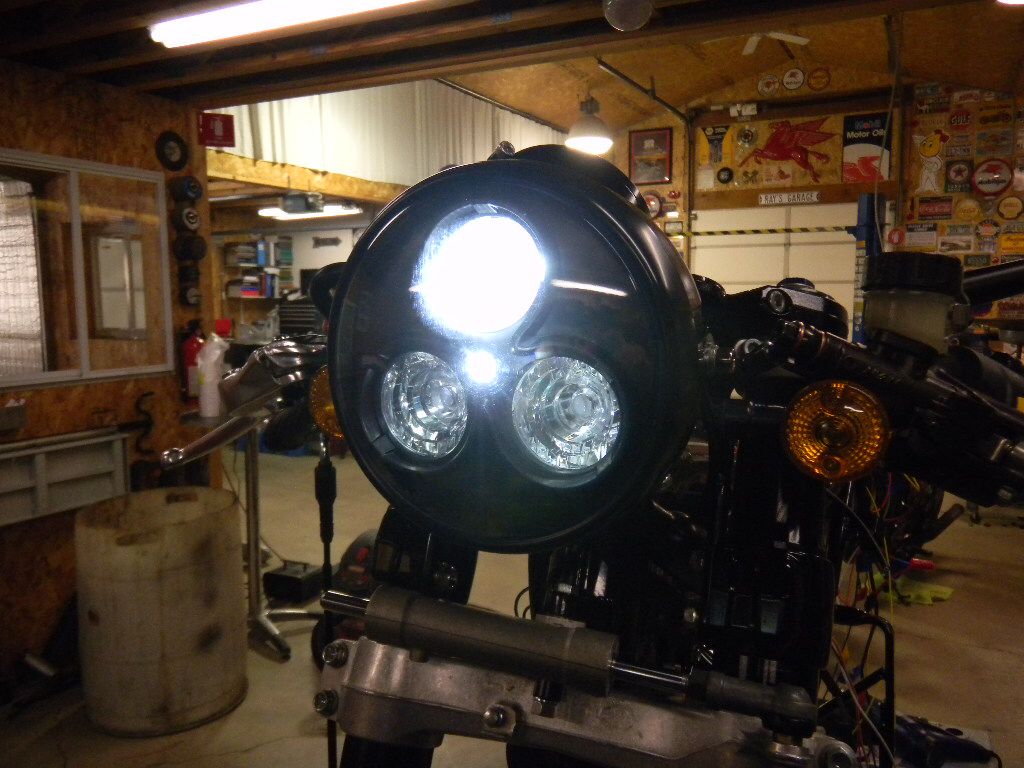
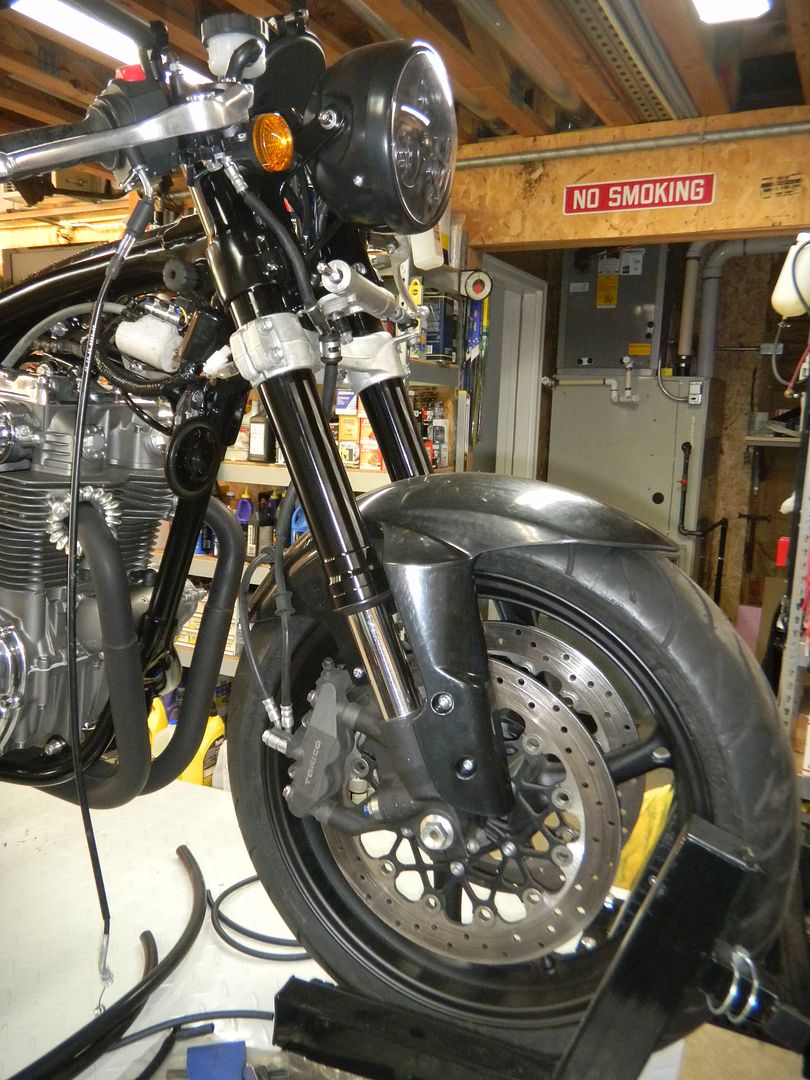
Had purchased a set of aftermarket headlight brackets. Fit well, and looked okay, but they hit the tank side to side. Didn't want to decrease the turning radius so went another route.
Got a used/damaged lower triple tree (same model as the forks, '08 GSX-R750, ear was broken off where the steering damper bolts on).
Cut off the ends, used a flapper wheel* to shape them down to size. Then finished them up with 120grit paper* and a pass through the bead blaster.
Left one is just after using the flapper wheel. Right is finished & ready for paint.
*its important to note when working with aluminum (and other metals) to use the appropriate dust mask or respirator. Aluminum dust does nasty things to the brain and nervous system.
Okay, onto the good stuff...
Couple of coats of paint.
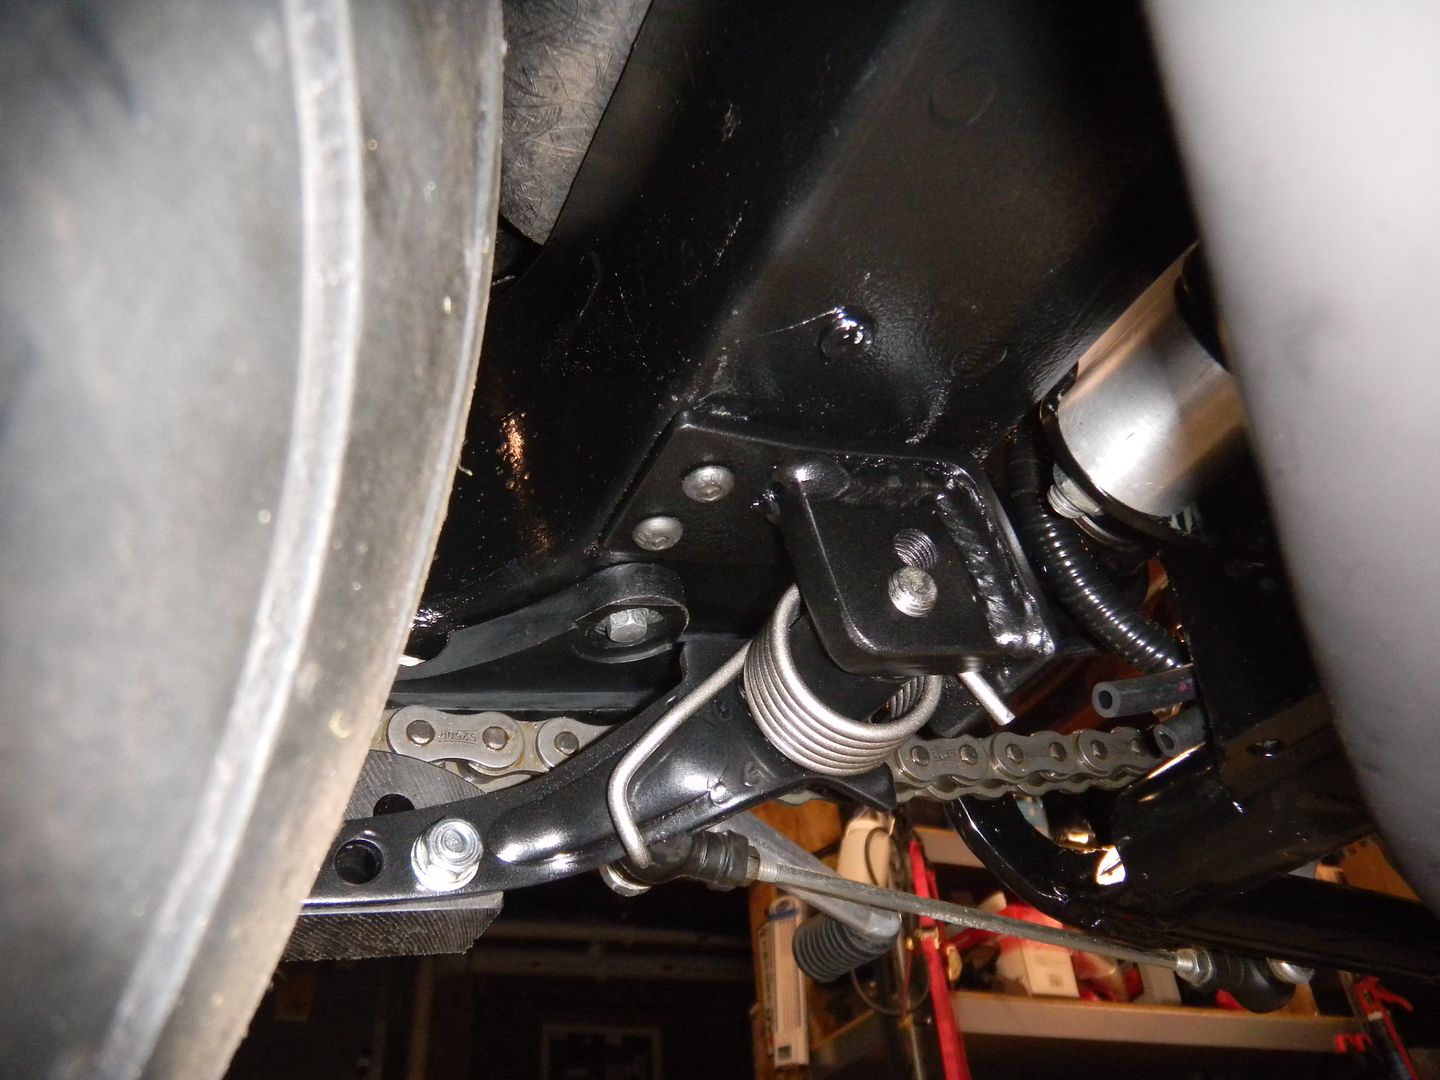
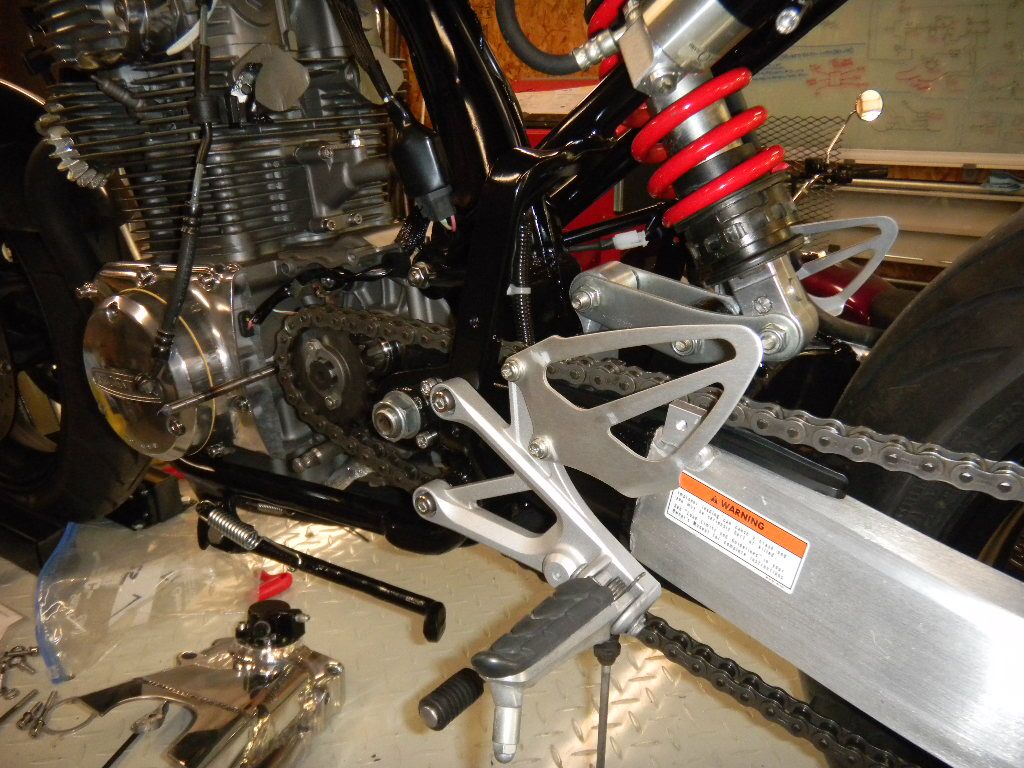
Installed
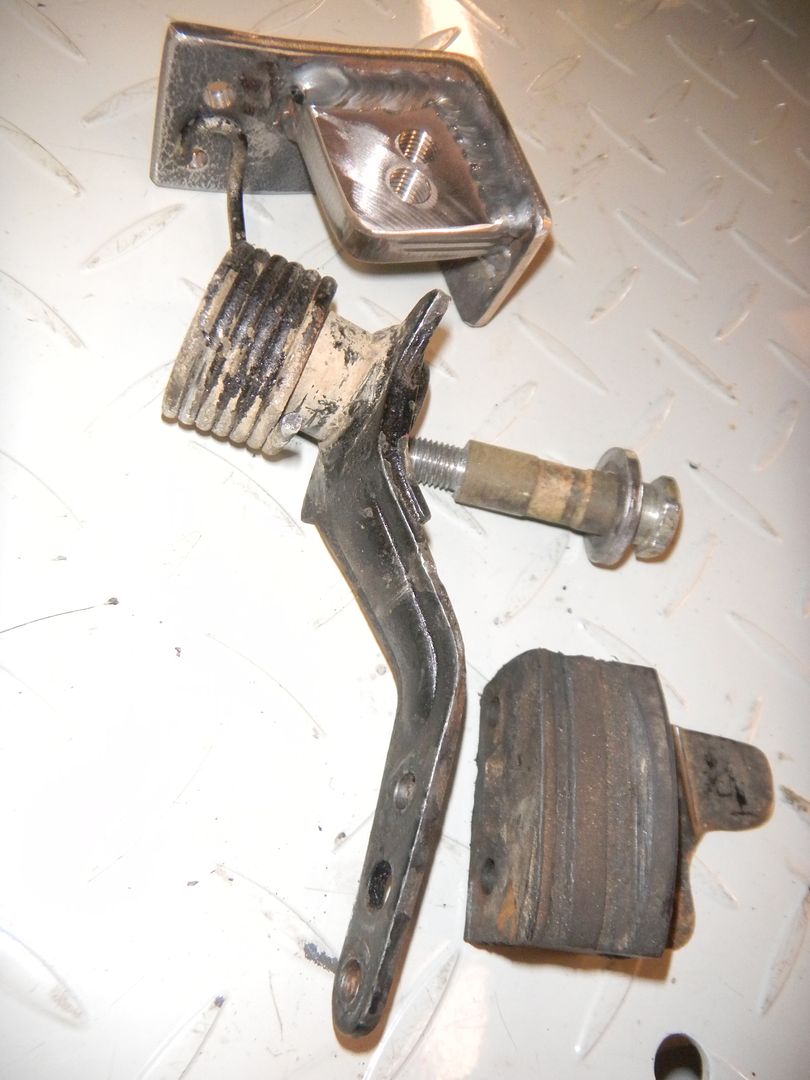
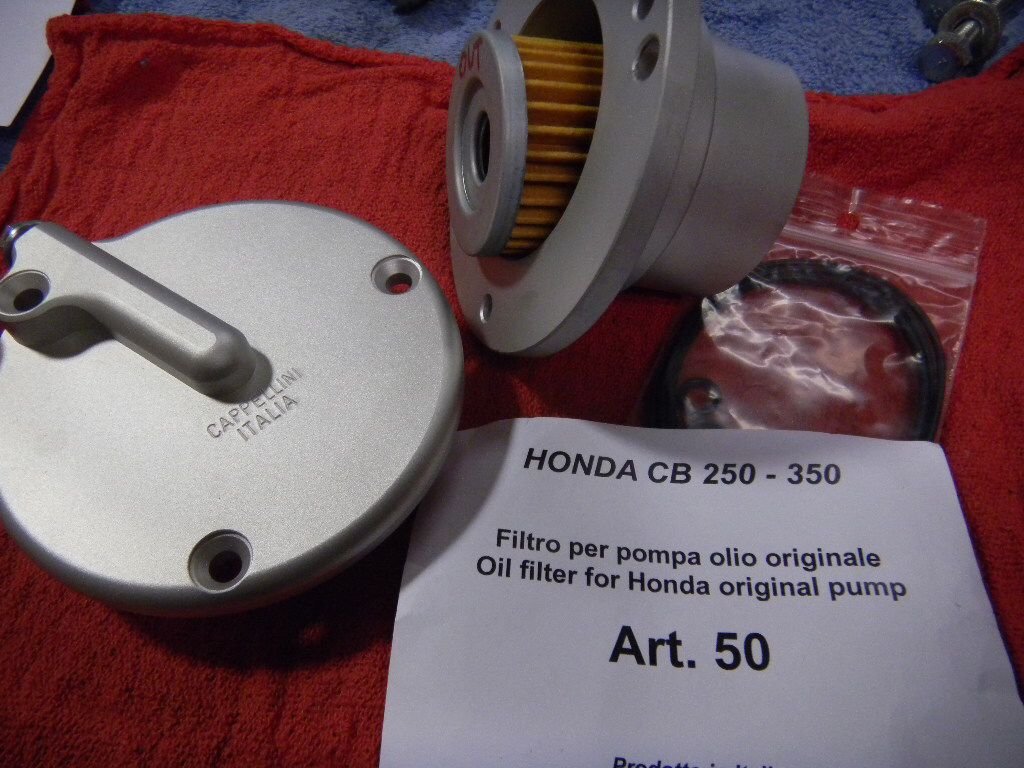
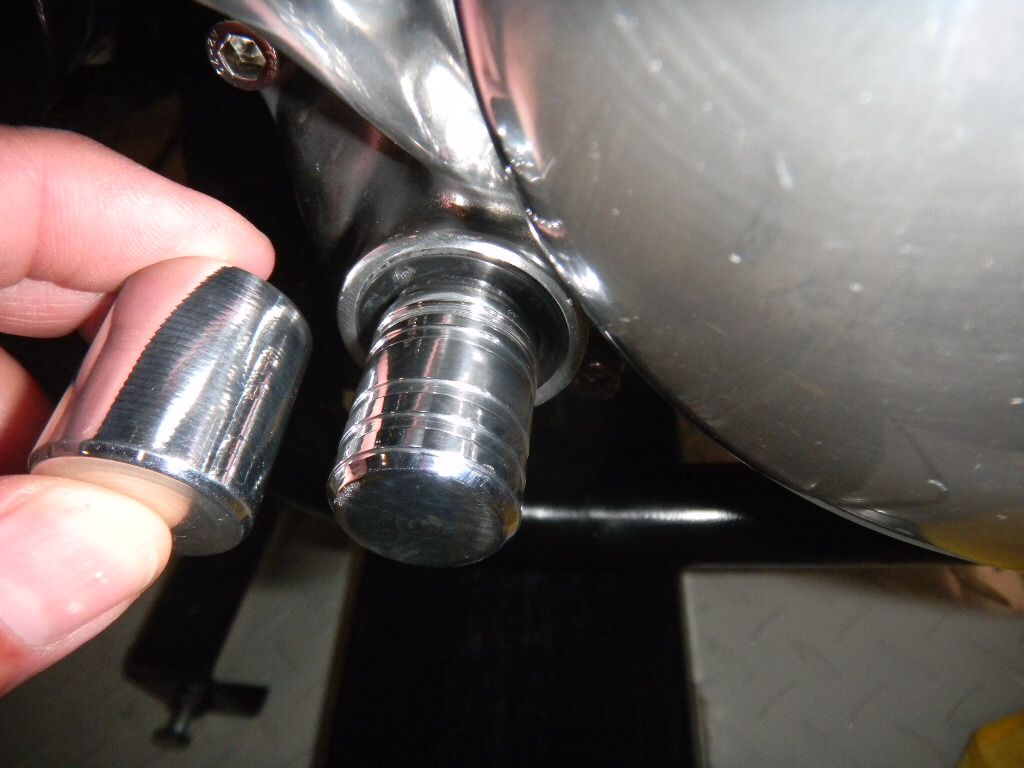
Misc.
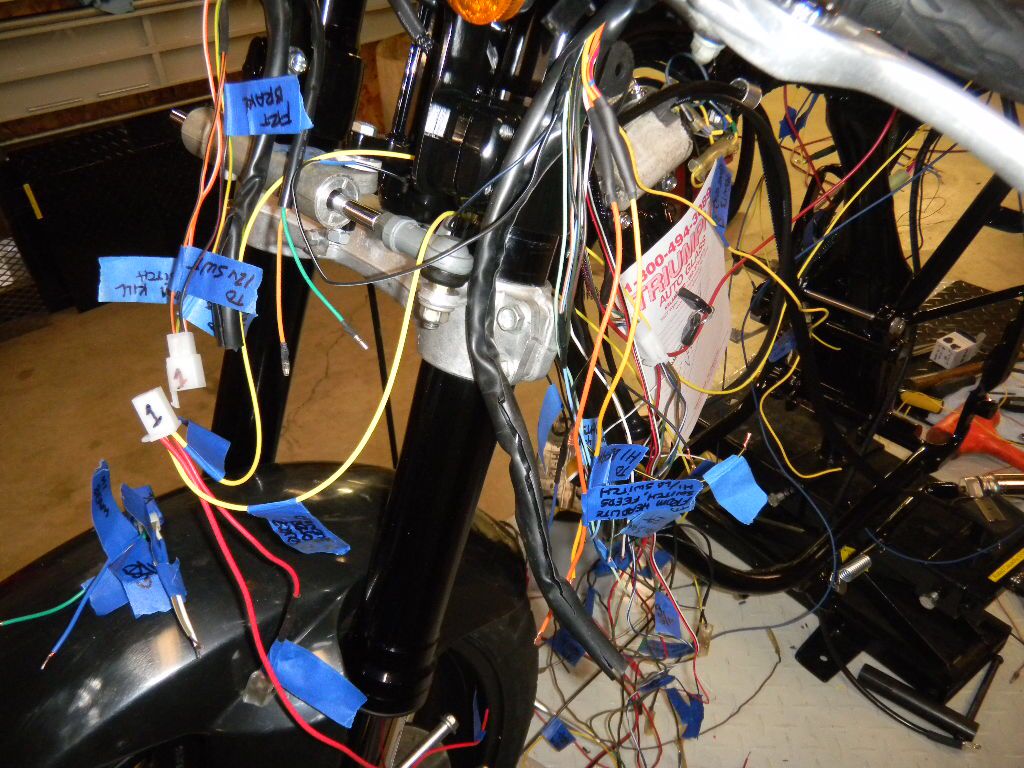
Wanted to mount the ignition coils, but remembered they needed some work. The wires coming out of the coils felt like they were just hanging on. Had read about others replacing the coil wires, so thought I'd take a stab at it.
Here's the coils off the bike.
Knocked off the factory epoxy with a screwdriver & hammer. Came off very easily.
I did experiment with another coil before going into the known good ones. Kinda strange, after breaking the epoxy on the guinea pig coil; the wire broke as I tried to pull it out. On the known good coils; the wires pulled out intact.
Heres a shot inside the guinea pig coil after carefully drilling with a 7mm bit down to the pin (where wire gets stabbed into). Had to scrape the remaining insulation out too.
Thought the new wire would just push on, but ended up using a very small sharp tool to pre-bore the new wire before pushing it in.
Sanded the area where the epoxy would go, and lathered it on.


 there is a guy here on honda twins who goes by the tag "saturdays wrench" and is making some fantastic and insightful videos for CB350 owners, and lots of good info for other honda twin owners. here is a link to his youtube channel with a series of videos documenting his progress. Also a link to his thread here on hondatwins