Honda Twins banner

'72 CL350 Custom Restore

20K views 73 replies 14 participants last post by  clofan  
#1 · (Edited)
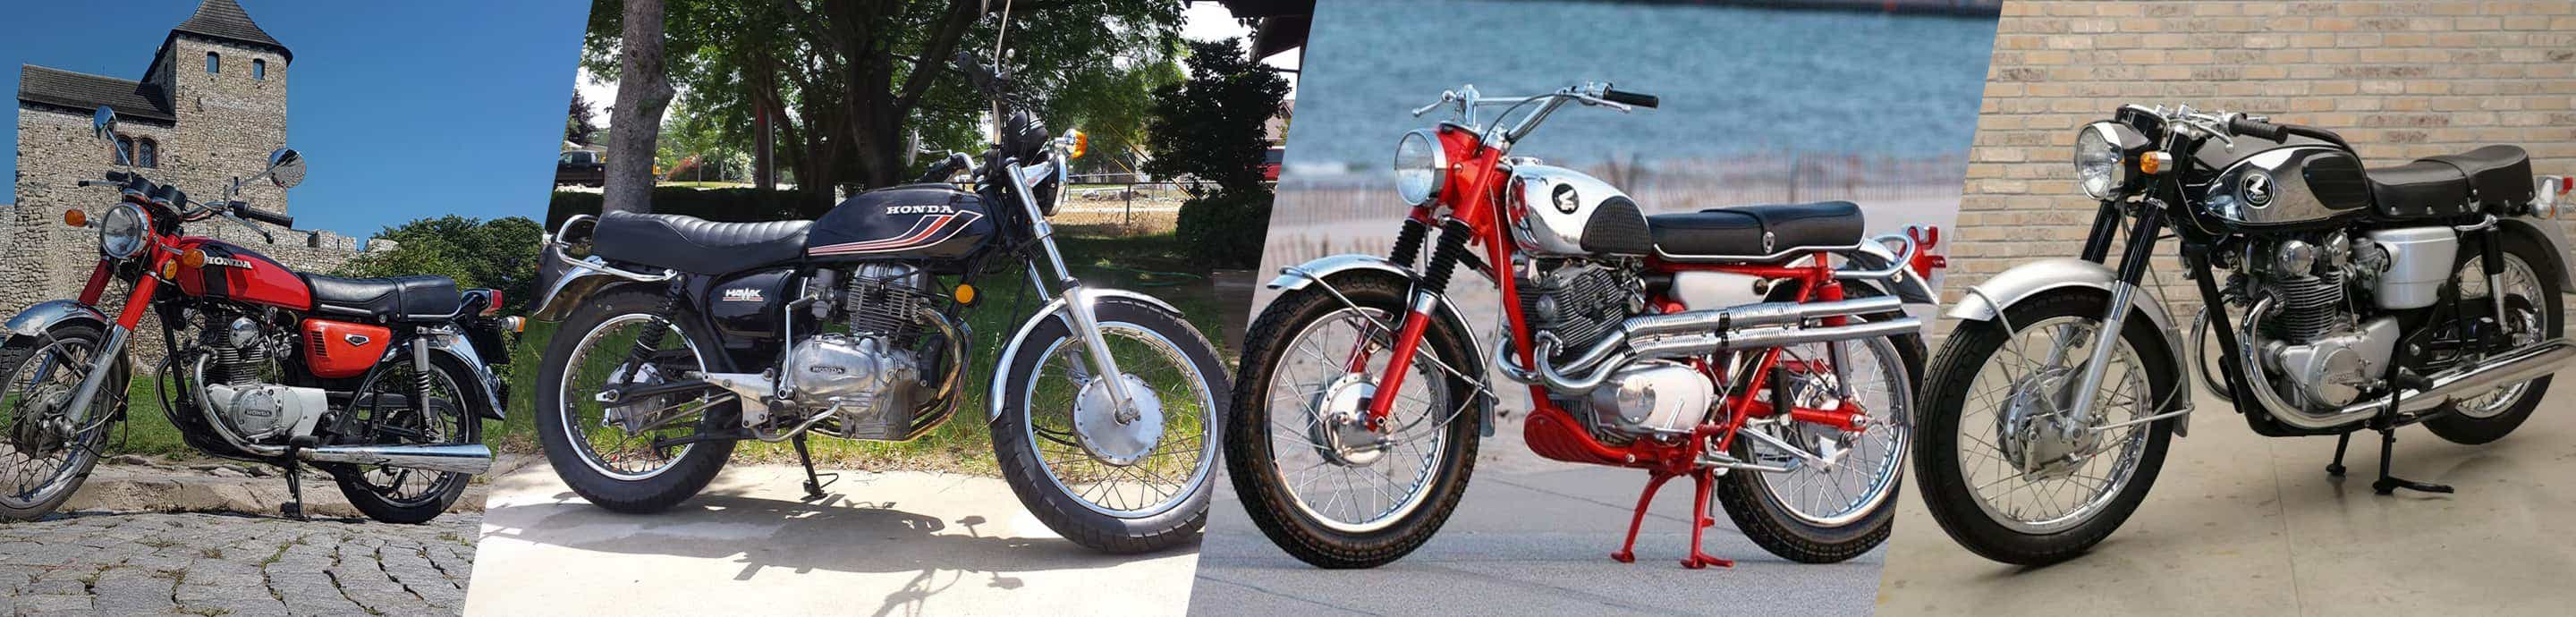
I bought my ’72 CL350 a little over a year ago as my first bike and loved it! It needed some work to run, but after just a little Carb tinkering I was able to get it rockin’. I rode it for a few months, but then made the mistake of letting an inexperienced buddy ride it. It ended up on the ground with some significant cosmetic damage, but after getting it home (via trailer) it still started up. I got a few needed replacement parts, and was able to ride it for the last couple months of the season last year.

I neglected the poor thing all winter… I had planned to do a lot of work on it, but a new job and a couple other factors got in the way. March eventually rolled around, and I realized I needed to get off my lazy butt and get to work! Engine was out and frame was stripped the first week of March, but that’s about the extent of where I’m at now. There’s a huge list of things to do, and hopefully I’ll be able to complete them all.

This project thread is meant to keep me accountable and working on this thing, and to have it done in time for summer! I’ve got the following parts on order:
  • Engine Gasket set
  • Stainless engine bolt set
  • Handlebars
  • Headlight brackets
  • Left and Right Switches
  • H4 Headlight + housing
  • LED Brake light / license mount
  • LED Turn signals
  • Bar end mirrors, grips, lever perches
  • Coils

And I still need to purchase: Exhaust gaskets, piston rings, cam roller (maybe), front and drive sprockets (maybe), fork gaiters, LED compatible flasher, and regulator / rectifier.

Currently, the engine is out and I’m at the point where I have to take off the cam sprocket. I wasn’t able to make it budge with my current toolset, so I stopped work on it for the time being. I have a couple more things to try before I post lots of pictures and solicit you guys for help :)

I'll try to post some pictures up tonight after work!
 
#2 · (Edited)
To Do:
Paint Tank
Paint Side covers
Polish/paint forks
Replace fork seals
Replace all engine gaskets
Check tolerances on clutch
Make new wiring harness (maybe)
Put it all back together! (Will expand on this when I get closer)

Done:
Bike completely torn down
Powdercoat Frame & Fenders
Paint shocks
Clean engine block
Paint rims / replace spokes
New Pistons / Cylinder Bore & Hone
 
#3 ·
Parts came in! :mrgreen:

H4 Headlight, fork ears, bolt kit, gasket set, coils, handlebars
Image


LED tail light.. I was worried this might be too dim to see in direct sunlight, but I was completely wrong! It came from China, but is surprisingly well made.
Image


Sweet-ass turn signals! I need to smoke the blue side, it's a bit too harsh in person
Image


Image


Bar end mirrors!
Image


Frame, steering stem fork brace, triple tree, and fenders are all being powder coated this week. Can't wait!
 
#5 ·
Started stripping the tank today:

Image

Image

Image

(really need to go back out and finish!)

I also stripped and put a primer coat on one of my rear shocks. I'll post some side by side pictures when they're done. Quick question-- is the rear hydraulic supposed to push back out, or just provide resistance? Mine will stay in whatever position I put it in, is that normal?

Finally, I picked up some freshly powdercoated parts today! This is titled, "Motivation.jpg"
Image

Image

Image


And I talked the guy into doing my tank for free :mrgreen:
 
#9 ·
We're have to see. I figure I can get away with a warning if I get stopped for it, then paint over it. It's part of my color scheme, so I'm hoping I can get away with it. The blue is constant unless I wire it to flash as well.. and it's on the backside of the signal. Problem is, I'm using the same signals in the back, so blue will be forward!

Finished painting one shock this morning.. I've got to wait for it to dry before I can resemble, so hopefully I'll have pics of that tomorrow!

How do I remove the top fork nut so that I can remove the tubes/break the seal? Rod type forks. edit: Thanks for the PM, Steve
 
#10 ·
You might be wondering what theme I'm going with for this project. If there's any gamers out there (and I know there are), you probably know the game Portal. My idea kinda solidified after I found those turn signals which are an exact color match. Tank will be stark white (like the fenders), black cap, with a blue and an orange pin strip offset 1-2" from center and 'falling' off the side. This logo will be on the tank:

Image


on both sides. I thought about going with the period logo, but ultimately I like the above image more. The sidecovers will be painted orange/blue and have either this logo:

Image


in white, or the one with the split guy in the portal-- I couldn't find a good image for that. Shocks will be white, headlight will be chrome, seat will be stock, pipes will be stock. I've thought about putting pipe wrap around the main part of the pipe.. I think it would look good with the chrome heat shield.

Only thing up in the air is the rims. I may go with white, but I'm not 100% yet. That wreck I mentioned earlier did a number on the rims.. they got bent, but were able to be hammered out. I need to check the integrity before rolling on them, and I also have a couple bent spokes to take care of. I can't for the life of my figure out how to remove the tire from the rim. I've got two tire irons and a bead buddy... I've watched some videos on youtube but I'm just dense and feel like I'm forcing it too much. Y'all got any tips?

Finally, I'm debating the electrical system. Should I rewire? I want to and will have to to some extent (new coils don't fit where the old ones did) anyways, so I'm thinking of doing the whole job. I think I can do it, but it's a pretty daunting task. I could make my harness meet behind the headlight or in the space the coils once took. Headlight will likely be easier, and there's a lot more room in this headlight than in the stock.
 
#13 ·
Pic dump time! I had a few hours to tear apart the engine, after learning I don't have the correct tool to get the forks apart..

Image


The above and below pics are to tell me which side the shouldered cam bolt goes!

Image


Image


DIrt Dobber nest behind the spark plug area:
Image


Ok. In the above pic, when I took that part of the engine off and turned it upside down to take a peek at the valves, two things fell out; the orientation spacer thing and a single small washer. I can get a picture or measurements, but does anyone know what the washer might go to?

Image


Image


Image


Image


Success!

Image


Image


Image


Notice there's only three circle clip thingies.. there's one in the belly of the beast :oops:

Image
 
#15 ·
66Sprint said:
What tool are you lacking?...... only takes an open end wrench (jam nut) and a socket or wrench on the top cap hex.....
I'm missing either a) a big enough socket or b) a second wrench that's big enough :lol:
 
#17 ·
Oh I understand.. I've actually got three sets of metric wrenches, two go from 10-19 (one is an Offset set) and the other goes from 7-15. Those fork top bolts and jam nuts are pretty huge! Only my biggest crescent wrench fits, so I either need another big crescent wrench or some larger normal wrenches!
 
#18 ·
:eek: :shock: :eek:

(Linking pictures because they're huge)
http://imgur.com/daNeU4w

http://imgur.com/rz3yl6x

That's a crack. In the lower engine, right below the right piston. How the hell does that even happen? Better question, should I just stop this build right here?

http://imgur.com/iJG5Feu

Scratch in the cylinder head.. it's not measurably deep, but you can feel it if you run your finger over it. Would honing fix that?
 
#22 ·
I think I'd be worried about trying to repair the crack in the upper case where the cylinder jugs sit. That was caused by the Bearing Alingment Pin NOT being seated in the Hole for the Bearing Race when the Cases were assembled. The Pin was pushed Up and crack out the Side Wall of the case - No Place else to go.

The Crack on the Oil Windage Plate can be welede but you will have to drill out the tops of the points where it is riveted in place then drill and Tap for Bolts.

If you decide to attempt a repair on the upper case here's how I would go about it.

Pry out the chips that are broken out.
CLEAN - CLEAN - CLEAN
Pull the Alignment Pin out.
Assemble the Case halves with the Alignment Pin in the Bearing Race.
Make sure the Pin is fully seated in the Bearing Race (from the look of the crack you should be able to push it down once the chips are removed).
Have someone TIG Over the Pin and Fill In Most of what was removed from the chips. The TIG won't stick if it's not cleaned properly. But also should not Weld to the Pin as the Temp Required for the Aluminium should be low enough.
Take a Dremel Grinder to clean up the are and make sure the Clinder Jugs seat correctly.

I know this will work as I had a similar issue with a Pin on the transmission shaft and that's how we fixed it.

Or Just pick up a case set on Ebay. All CB & CL Cases are the same for 350's. The early SL will also work the later ones were Kick Start ONLY.
 
#24 ·
99.9999......% Someone has been there before you. It's very unlikely the factory made that error.
 
#25 ·
Update time:

Yesterday, I performed a leakdown test (well, what I thought was a leakdown test):
Starting out - poured Acetone in the up-turned valve head
Image


After ~12 minutes
Image


After ~60 minutes
Image


I just assumed I was supposed to pour it in there and see how if it held or if it leaked. I think mine leaked, but after reading up a bit I realize I may have misunderstood the test. Did the acetone just evaporate, or is there a leak? I'm a dummy and didn't put a rag or anything under it so I couldn't tell for sure.

I also went to disassemble the other shock so I could get those finished this week. My method:

Image


Unfortunately, that failed. I think I used 8 zip ties on the other one (disassembled a few months ago), but I only used 6 yesterday and they popped. Regardless, I would not be able to reassemble using this method, so I'm trying to come up with something else...

Image


I found these plates at a hardware store for around 40 cents a pop. I ground the little tabs off (you can see one off in the picture), and it just fits around the wide internal shock part. I think I can get some long bolts and nuts, and use this as a makeshift spring compressor. I'll let you know how it turns out...!

Current state of things:
Image


Image


:!: Yeah, need to get that engine back together before I forget everything, or maybe that ship has sailed! I kind of want to get a rolling frame first, though. To do that, I need to 1) get my 3rd wheel disassembled so I that I can 2) begin soaking all my rusted parts together in some Bar Keeper's Friend mix. Also need to wait on that before I can put my head/triple tree back on, because one of the pieces of that was all rusted up. I love the way the new bearings look, though!
Image


Will just any grease work on those? I have some general purpose, but I wanted to check first to see if there was a specific kind I needed to use.

I'm going to hopefully be hitting this project a lot harder in the next few weeks... I'm ready to get it going! Unfortunately, I'm a procrastinator at heart, so instead I make neat little modifications to my workbench.