
Thought I should start a build thread......
I'm not sure what to classify the build as since the more I look into things, the more I'm unable to say what this bike will actually become. All I know is that I have a vision (somewhat), it will take some time and I'm sure some aspects will evolve as I go. It'll be a part cafe/brat/rat/etc.................and RIDDEN continuously (at least 90%) as I go. Weather (snow) permitting.
Here goes.......
Figured I'd better start something (project-thread wise) as the time is drawing near. I'll be tearing this thing apart very soon.
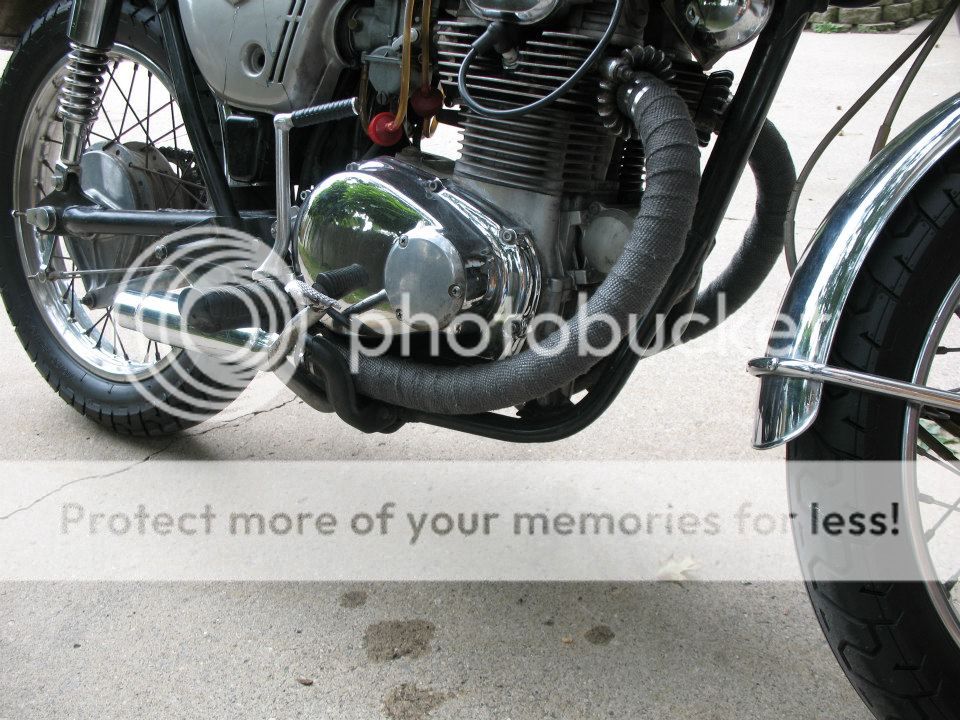
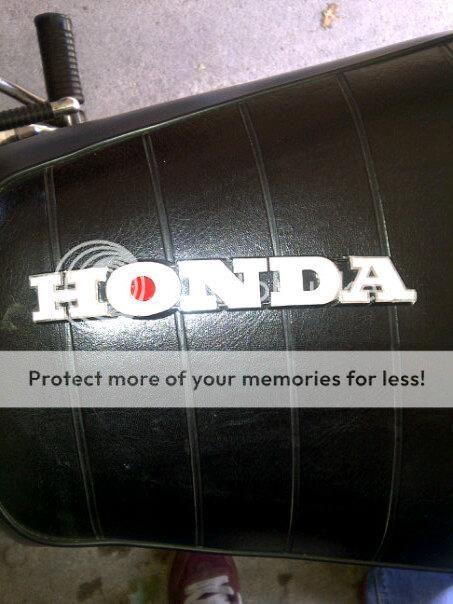
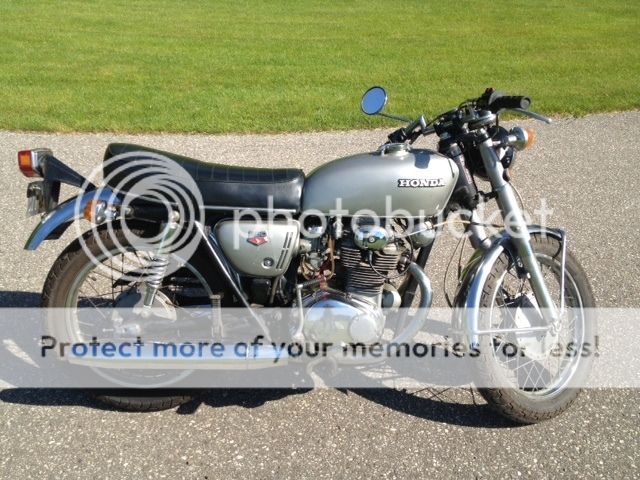
Bought this '71 CB350 (I know, I know......... another CB350 :") )
)
![Image]()
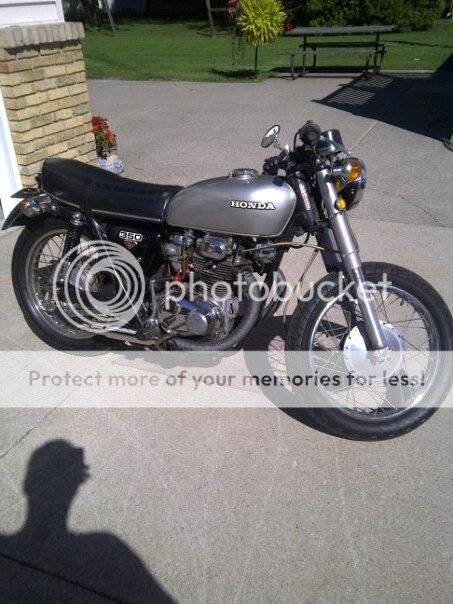
I decided on it for a couple of reasons. First, this bike will be my in-town commuter so a huge bike didn't really fit for me. Also, parts are obviously not so hard to come by and being my first moto-build, I figured I didn't need the extra challenge. It's a good size and this one was complete, running well and certified without any issues either so I was good to go. Faulk it............I bought it.
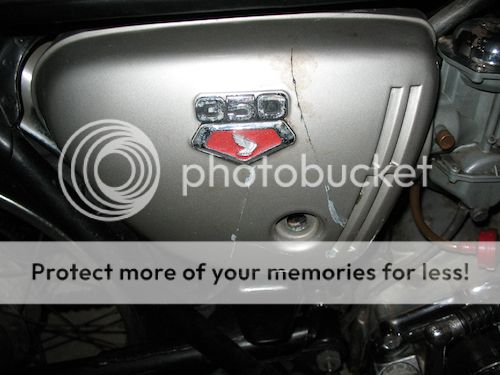
Got it home and cleaned it up the best I could. Not bad really.
![Image]()
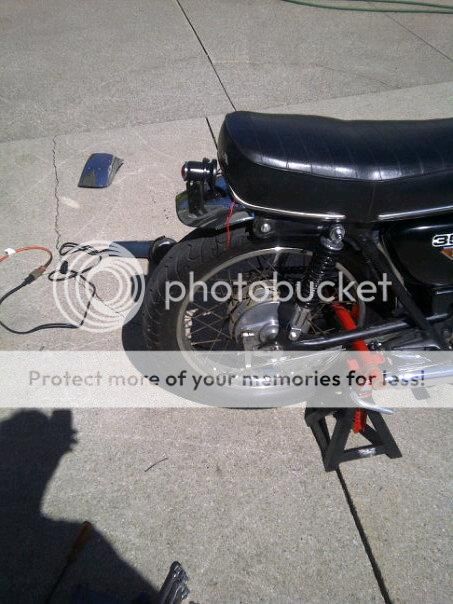
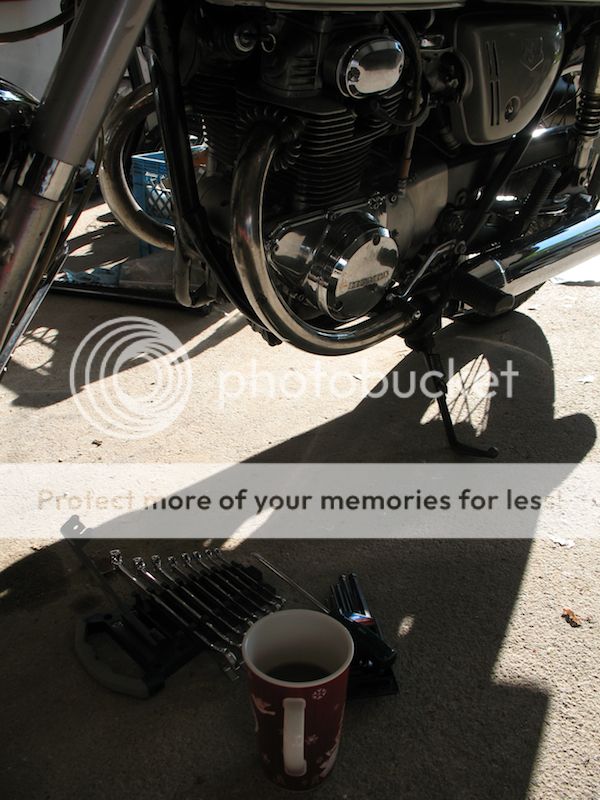
After that, I rode it for a week or so. Clutch cable was pretty gnarly and ready to snap so I did replace that pretty quickly.
Made myself a coffee, grabbed some tools and sat my arse on the concrete.
![Image]()
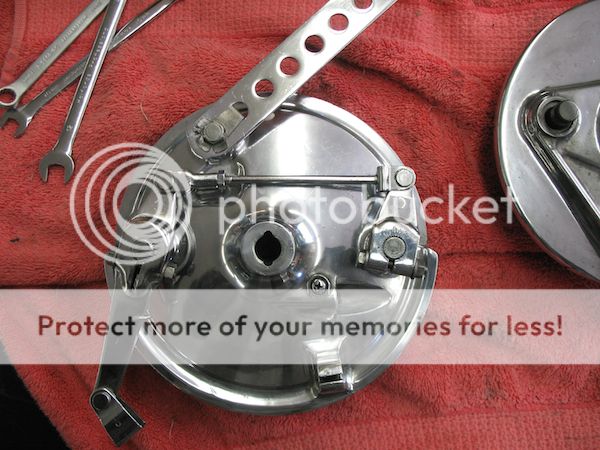
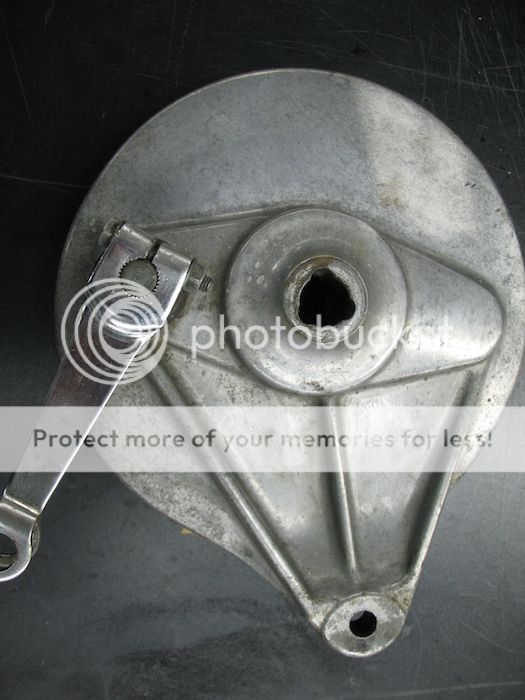
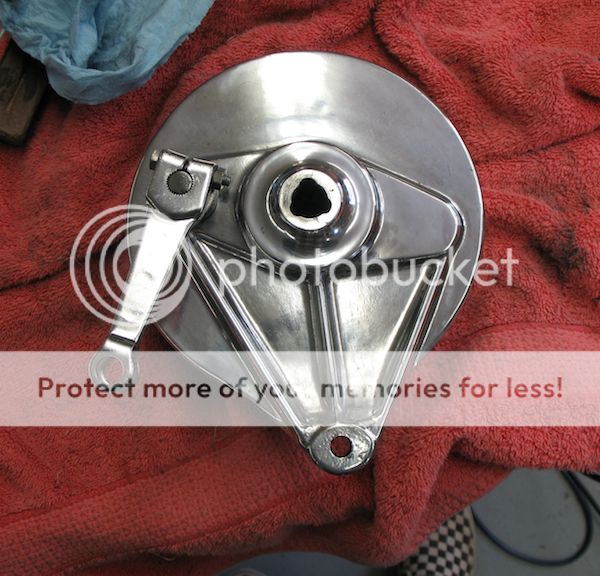
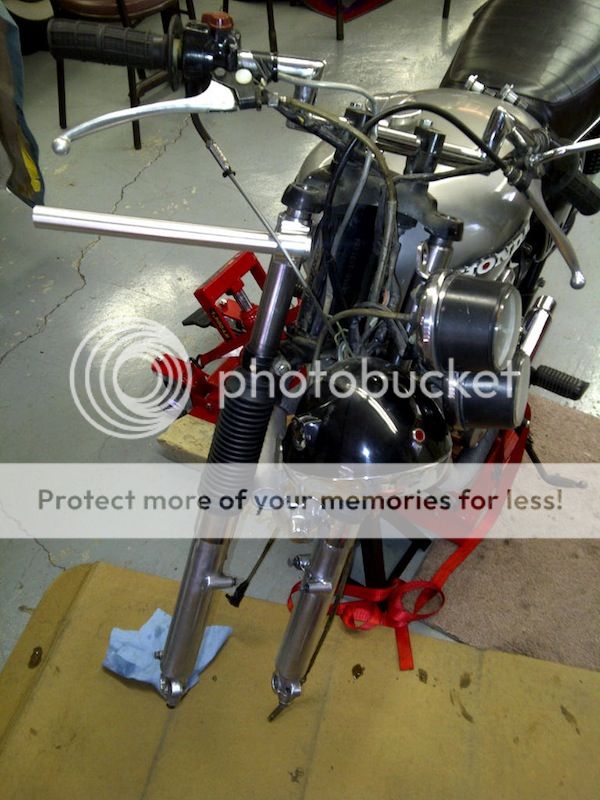
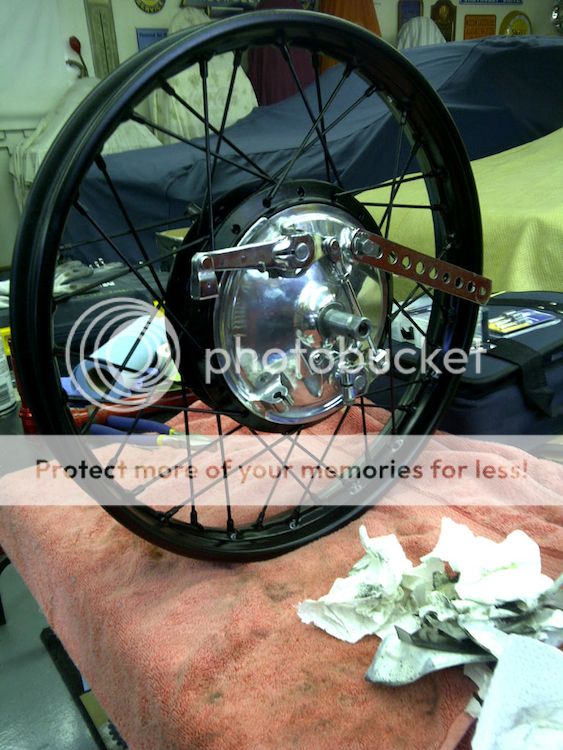
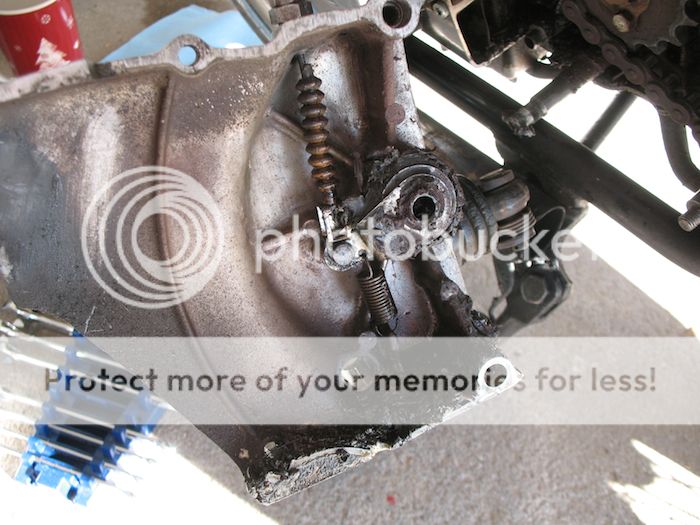
When I opened the case, I honestly believe I was the first in decades to be in there. There were sticks, leaves, mud, trolls you name it in there! Didn't capture the initial opening but you can see some of the shyte left behind in the bottom of the case there.
![Image]()
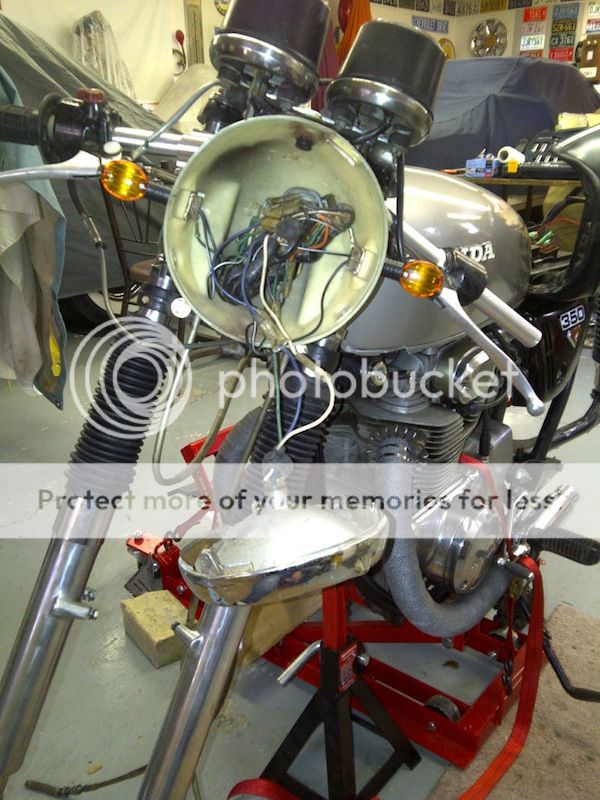
Easy job and got it all done and cleaned/adjusted in about 45 minutes. Changed the bike big time! I was stoked!
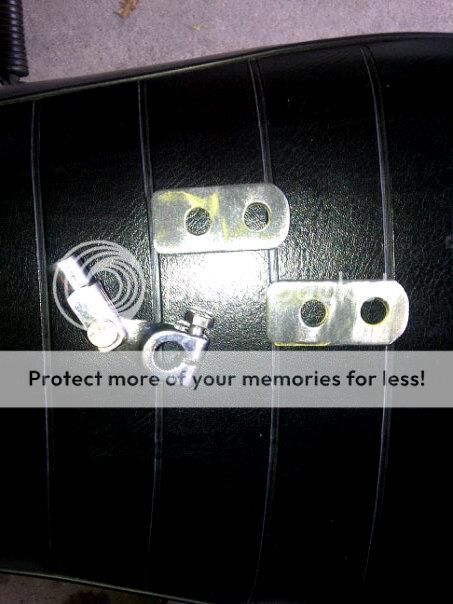
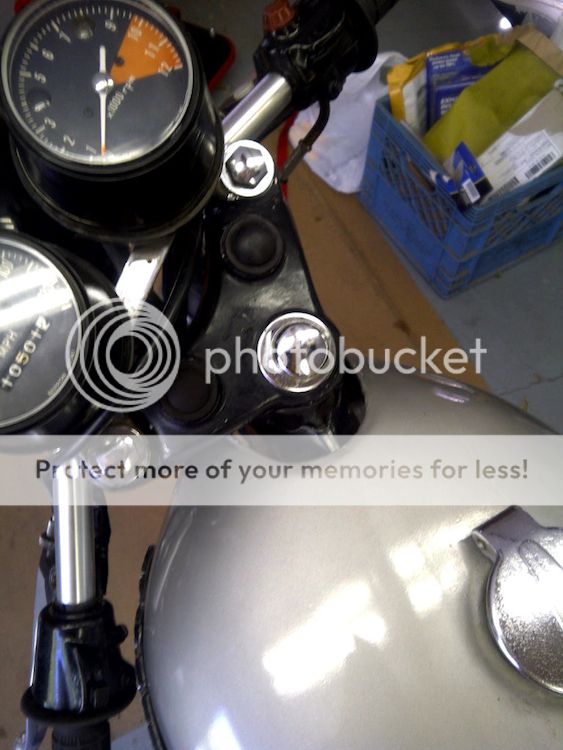
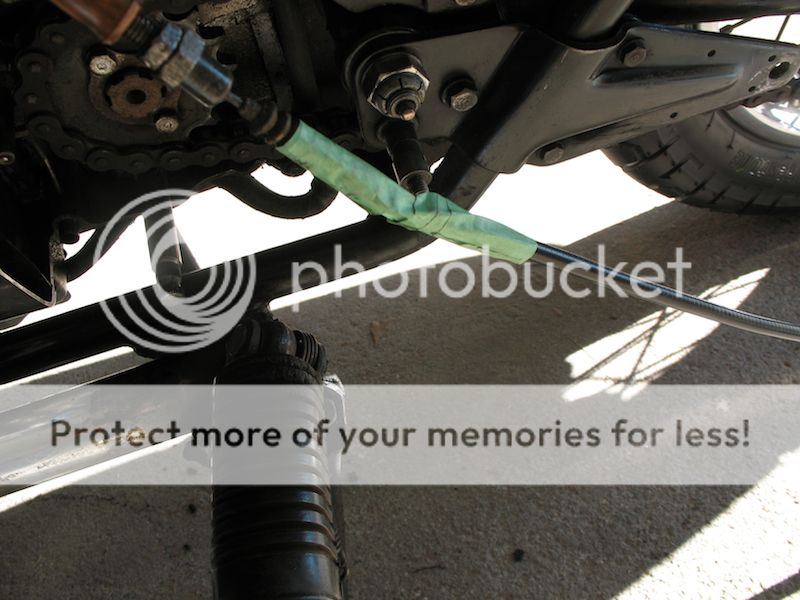
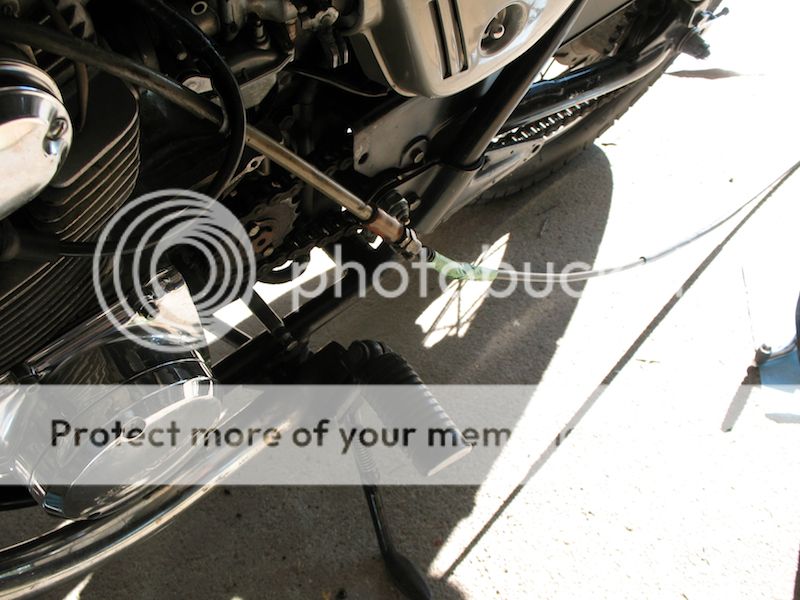
As a side note; and maybe you all do this anyway, but I employed a trick I use (on a bigger scale of course) when routing internally routed cables through road/mountain bike frames. Saved me time as I didn't need to remove the tank at all. I just wrapped a bit of tape around the old cable housing (at the clutch end) and continued on wrapping it around the new housing (lever end).
![Image]()
No probs!
![Image]()
Now, slowly push the new cable up while gently pulling the old cable out. Take your time not to pull them apart or this is all for nothing. Nice and gentle and in a few seconds, your cable routs itself! Thing of beauty.
You guys probably all do that anyway but just thought I'd share for any noobs to moto (like myself).
Anyway, back to the bike.
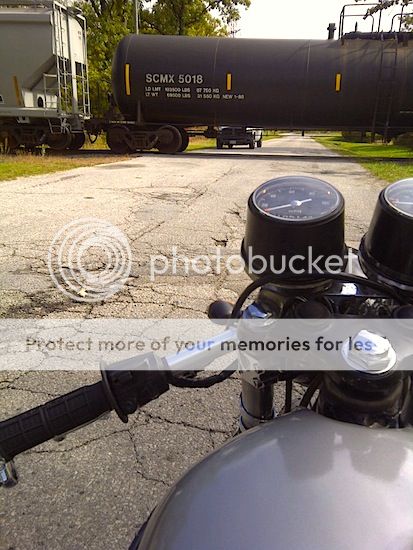
Once that cable was replaced, I basically have been ripping around on it none stop after the kids go to bed, during my free time (whenever I get that) or during errands and stuff. I've been amassing parts like crazy and I really want to get started on some stuff.......but, it seems a shame as I'm enjoying it too much right now.
One thing I did do was bring my camera along each time I headed out and grabbed a bunch of clips. Mashed them together a few days ago and made this little video for something to do. And, I guess, document what it looks like before the parts swap.
[vimeo:22dyyf90]https://vimeo.com/48067151[/vimeo:22dyyf90]
I posted that in another thread the other day. Sorry for the repeat but I figured I'd add it here too.
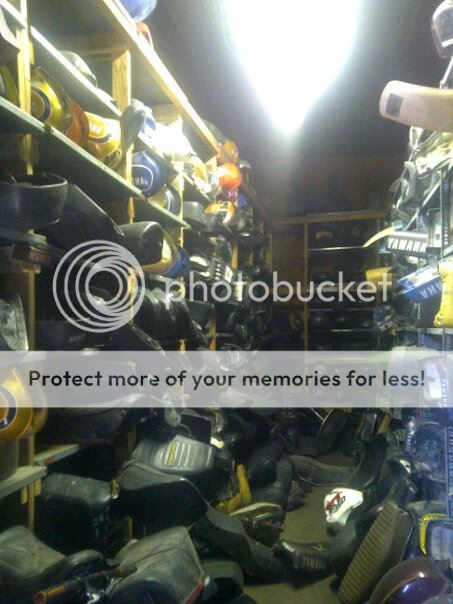
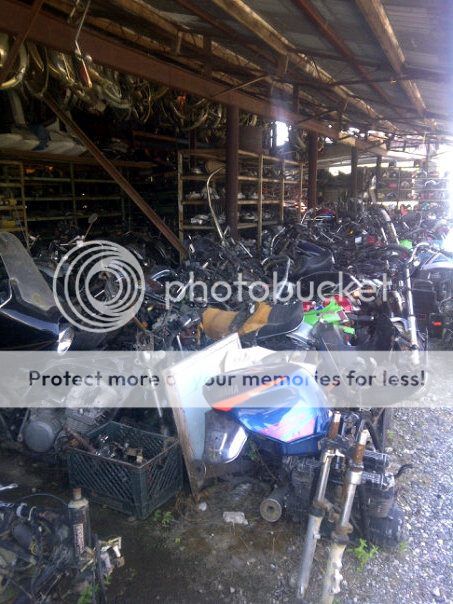
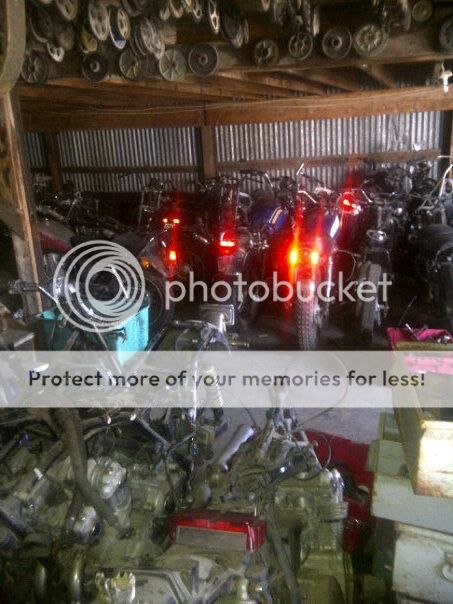
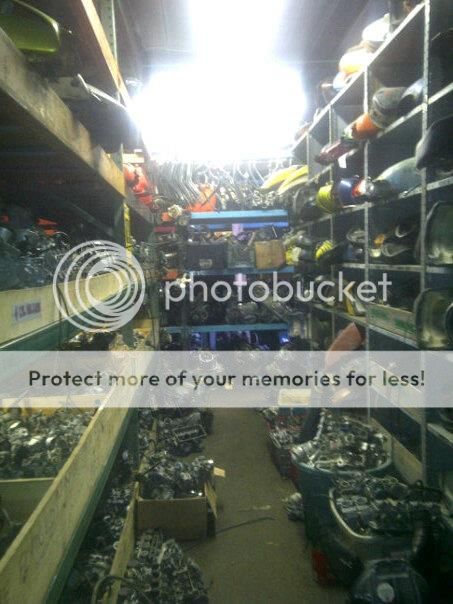
Today, I headed to a salvage yard to pick up some stuff and found a massive amount of stuff. SENSORY OVERLOAD!!!
There was **** everywhere........this is just the tip of the iceberg!
One of a million corners I was in. This one, to look for a good seat to cut up
![Image]()
Fender searching...........
![Image]()
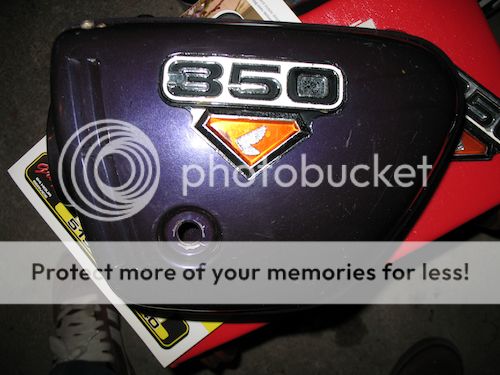
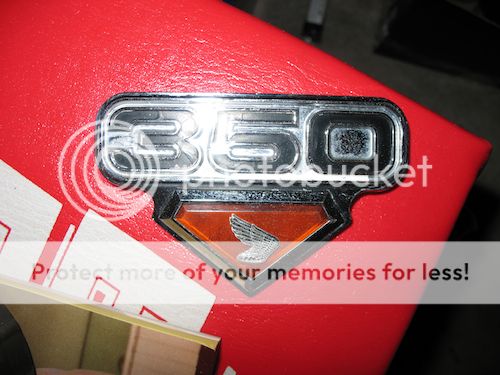
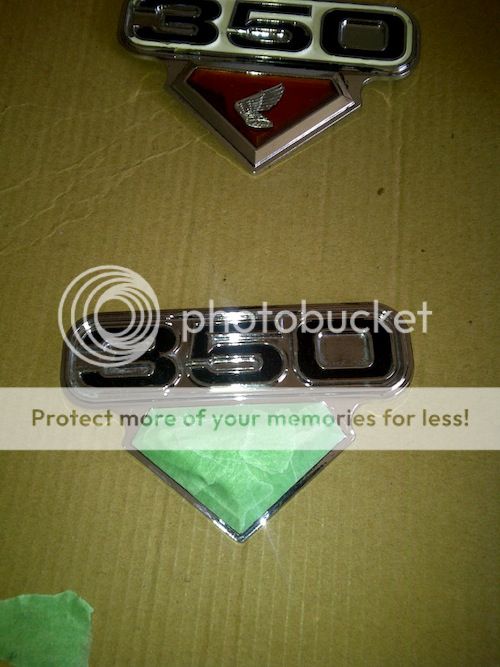
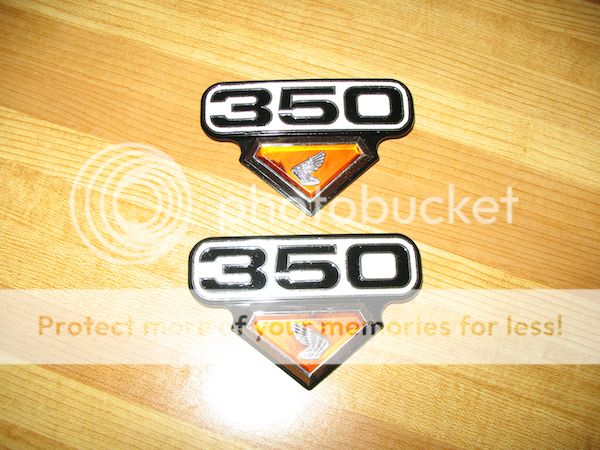
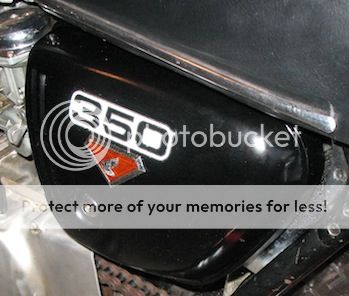
Side cover searching.........
![Image]()
..........don't need anything in there........yet
![Image]()
Anyway, it's late, this post is crazy long and I'm beat. Just thought I'd get this intro over with and I'll update the build as I go. I'll try to add video of the progress too.
I'm new at all this stuff but have been surrounded by classic car restoration folks my entire life (my dad is BIG on it) so I don't think I'm "entirely" hopeless but I'm the first to admit, I know relatively squat about motorcycles. I'm learning fast though
I'm giving it my best shot. We'll see how it goes.
I'm sure I'll have loads of questions for you.
Cheers.
OH!!!!
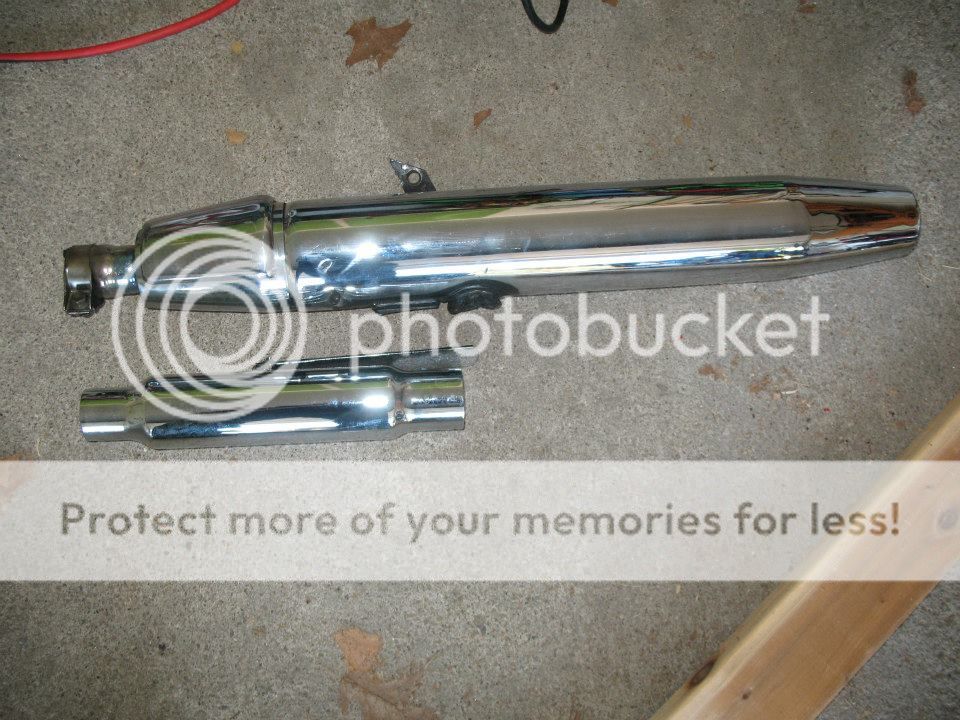
Anyone for pipes?? I'm tellin' you. SENSORY OVERLOAD when I was there.
![Image]()
I'm not sure what to classify the build as since the more I look into things, the more I'm unable to say what this bike will actually become. All I know is that I have a vision (somewhat), it will take some time and I'm sure some aspects will evolve as I go. It'll be a part cafe/brat/rat/etc.................and RIDDEN continuously (at least 90%) as I go. Weather (snow) permitting.
Here goes.......
Figured I'd better start something (project-thread wise) as the time is drawing near. I'll be tearing this thing apart very soon.
Bought this '71 CB350 (I know, I know......... another CB350 :
) 
I decided on it for a couple of reasons. First, this bike will be my in-town commuter so a huge bike didn't really fit for me. Also, parts are obviously not so hard to come by and being my first moto-build, I figured I didn't need the extra challenge. It's a good size and this one was complete, running well and certified without any issues either so I was good to go. Faulk it............I bought it.
Got it home and cleaned it up the best I could. Not bad really.

After that, I rode it for a week or so. Clutch cable was pretty gnarly and ready to snap so I did replace that pretty quickly.
Made myself a coffee, grabbed some tools and sat my arse on the concrete.
When I opened the case, I honestly believe I was the first in decades to be in there. There were sticks, leaves, mud, trolls you name it in there! Didn't capture the initial opening but you can see some of the shyte left behind in the bottom of the case there.
Easy job and got it all done and cleaned/adjusted in about 45 minutes. Changed the bike big time! I was stoked!
As a side note; and maybe you all do this anyway, but I employed a trick I use (on a bigger scale of course) when routing internally routed cables through road/mountain bike frames. Saved me time as I didn't need to remove the tank at all. I just wrapped a bit of tape around the old cable housing (at the clutch end) and continued on wrapping it around the new housing (lever end).
No probs!
Now, slowly push the new cable up while gently pulling the old cable out. Take your time not to pull them apart or this is all for nothing
. Nice and gentle and in a few seconds, your cable routs itself! Thing of beauty.You guys probably all do that anyway but just thought I'd share for any noobs to moto (like myself).
Anyway, back to the bike.
Once that cable was replaced, I basically have been ripping around on it none stop after the kids go to bed, during my free time (whenever I get that) or during errands and stuff. I've been amassing parts like crazy and I really want to get started on some stuff.......but, it seems a shame as I'm enjoying it too much right now.
One thing I did do was bring my camera along each time I headed out and grabbed a bunch of clips. Mashed them together a few days ago and made this little video for something to do. And, I guess, document what it looks like before the parts swap.
[vimeo:22dyyf90]https://vimeo.com/48067151[/vimeo:22dyyf90]
I posted that in another thread the other day. Sorry for the repeat but I figured I'd add it here too.
Today, I headed to a salvage yard to pick up some stuff and found a massive amount of stuff. SENSORY OVERLOAD!!!
There was **** everywhere........this is just the tip of the iceberg!
One of a million corners I was in. This one, to look for a good seat to cut up
Fender searching...........
Side cover searching.........
..........don't need anything in there........yet
Anyway, it's late, this post is crazy long and I'm beat. Just thought I'd get this intro over with and I'll update the build as I go. I'll try to add video of the progress too.
I'm new at all this stuff but have been surrounded by classic car restoration folks my entire life (my dad is BIG on it) so I don't think I'm "entirely" hopeless but I'm the first to admit, I know relatively squat about motorcycles. I'm learning fast though
I'm giving it my best shot. We'll see how it goes.
I'm sure I'll have loads of questions for you.
Cheers.
OH!!!!
Anyone for pipes?? I'm tellin' you. SENSORY OVERLOAD when I was there.