
Hi everyone! I've been reading this forum for a couple of years now and finally decided to sign up now that I started working on my Nighthawk 450 again.
I bought the bike (my first) in the summer of 2013 from a guy who lived down the street for 180 euros (about $200) it started and ran, but other than that it was a total mess - flat rear tire, messy wiring, dangerous fuel lines - and the previous owner tried making a bobber of some sort out of it by stripping the rear cowl, side panels and fixing some cheap ass ghetto style seat using fence mesh, wood and leather he cut from (I suppose) his old couch.
![Image]()
![Image]()
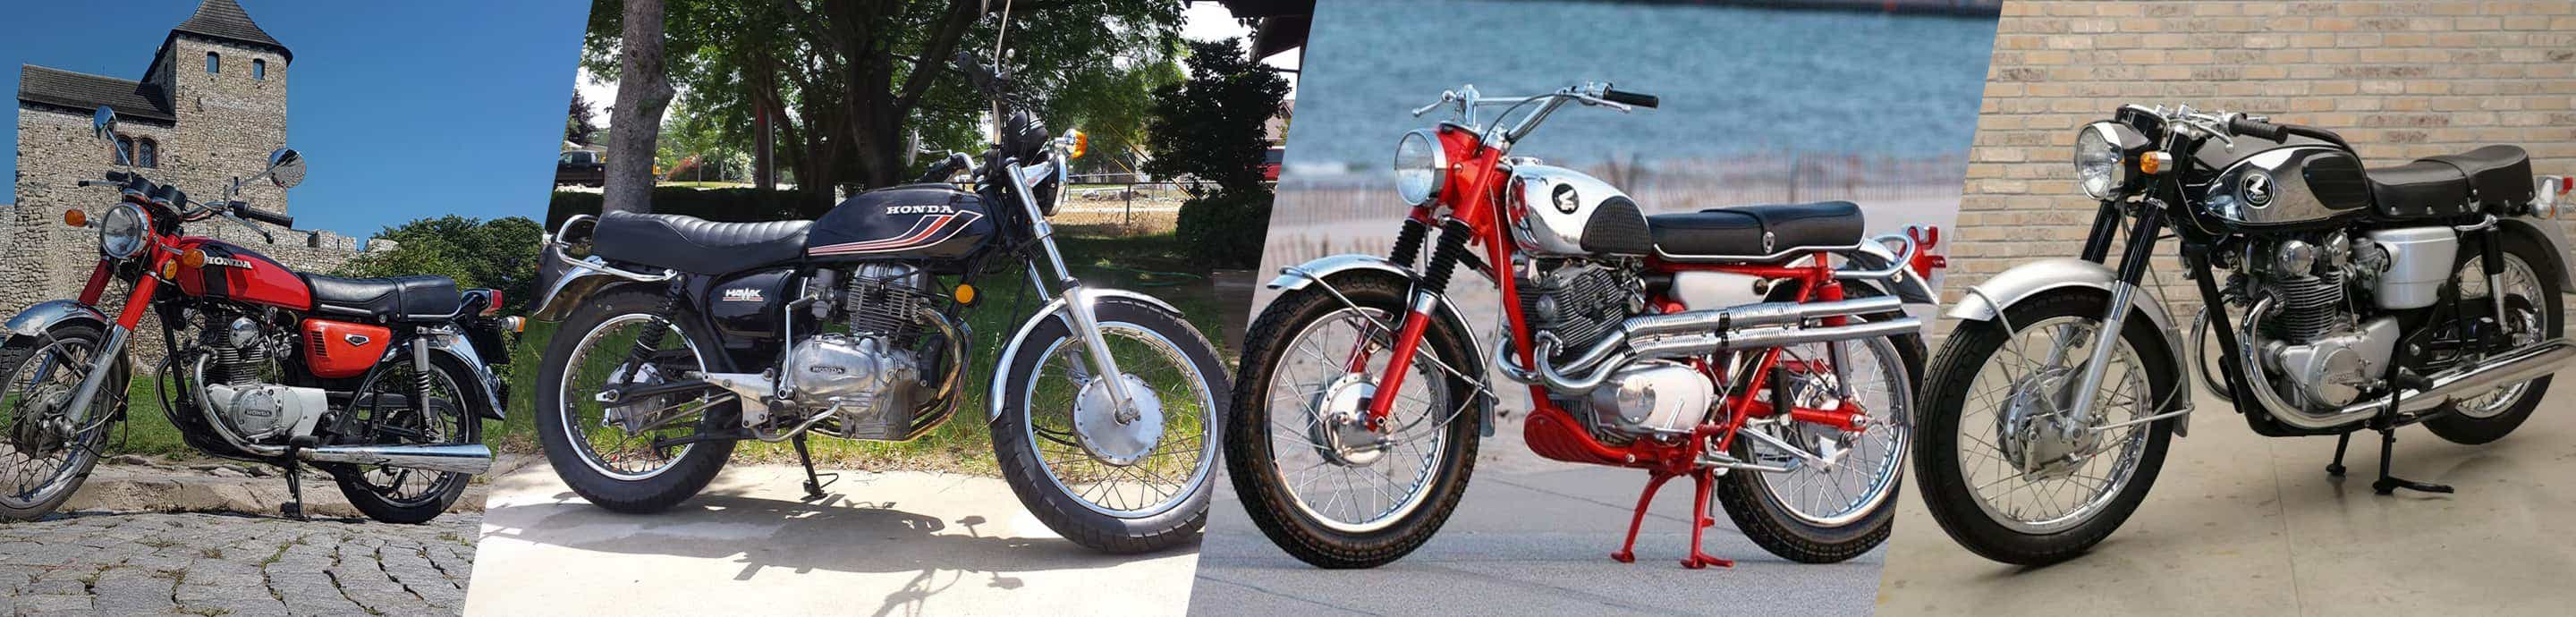
The Nighthawk in all it's glory. Mind you, this was AFTER I replaced both tyres, fuel lines and fixed the indicator lights. Also I made up a slightly better version of the buddy seat using aluminum sheet.
During the winter I decided to turn it into a cafe racer, but it just wasn't the bike for it. I just put on some clip ons and rode about 2500 miles on it but it wasn't really good looking. Also not very comfortable because of the standard pegs (I couldn't mount rear sets).
![Image]()
In the summer of 2015 I bought a proper bike - a 2006 Ducati Monster 695 - and decided to turn the Nighthawk into a bobber, a style that fits the frame and tank. I began by completely stripping the bike so I could modify the frame. However, after taking the whole bike apart last year I didn't spend a lot of time on the project, mostly because I was not looking forward to modifying the whole frame.
A few weeks ago I decided to pick up the project again by restoring the Nighthawk to it's (sort of) original state, just with some modifications such as different handlebars, indicators, mirrors, just to make it a bit more sporty and modern. The idea is to make a road trip next year with it, so maybe I'lll add some engine guards with highway pegs (if I can find them), luggage rack and hand guards.
Last week I bought all the parts that were missing from the rear side of the bike, being the metal and plastic fender, rear light, chain cover, rear cowl and a bunch of mounting screws, rubbers and springs. For now I'm just reassembling the bike completely so I can see what parts are missing or need to be replaced or upgraded. First I mounted the rear side:
![Image]()
I also have a nice digital Koso dashboard with speed, revs, temperature, clock and battery indication that I have been using on the bike since the 'cafe racer' stadium and I'm planning to use it again. However to mount the dashboard close to the handlebars, I had to relocate the ignition switch. It ended up underneath the tank at the right hand side. I made an aluminum bracket for it and mounted it to the bracket the connects the engine to the frame.
![Image]()
I had to mount the engine and carburators first, to see if there was any space for the igntion switch.
![Image]()
Ignition switch mounted
As for now I'm just planning to build the bike to see if everything fits, then completely disassemble the bike again and paint the frame and other parts that need freshening up. I will also be ordering new parts such as a chain and sprockets, steel braided brake line, new bolts, gaskets here and there and what not.
Getting parts for this bike is not really easy in the Netherlands because the bike was never officially sold here, so all the Nighthawk 450's are imported from the US and Canada. The guy I bought the rear parts from told me there were only a 140 of them actually on the road in the Netherlands. Luckily I have most of the important parts now. I'll be probably ordering additional stufffrom David Silver from the UK and from CMSNL, a Dutch company specialized in Japanese OEM parts. They're expensive but they have all the little bolts, dust covers, gaskets, you name it.
Looking forward to get this bike riding again!
I bought the bike (my first) in the summer of 2013 from a guy who lived down the street for 180 euros (about $200) it started and ran, but other than that it was a total mess - flat rear tire, messy wiring, dangerous fuel lines - and the previous owner tried making a bobber of some sort out of it by stripping the rear cowl, side panels and fixing some cheap ass ghetto style seat using fence mesh, wood and leather he cut from (I suppose) his old couch.


The Nighthawk in all it's glory. Mind you, this was AFTER I replaced both tyres, fuel lines and fixed the indicator lights. Also I made up a slightly better version of the buddy seat using aluminum sheet.
During the winter I decided to turn it into a cafe racer, but it just wasn't the bike for it. I just put on some clip ons and rode about 2500 miles on it but it wasn't really good looking. Also not very comfortable because of the standard pegs (I couldn't mount rear sets).

In the summer of 2015 I bought a proper bike - a 2006 Ducati Monster 695 - and decided to turn the Nighthawk into a bobber, a style that fits the frame and tank. I began by completely stripping the bike so I could modify the frame. However, after taking the whole bike apart last year I didn't spend a lot of time on the project, mostly because I was not looking forward to modifying the whole frame.
A few weeks ago I decided to pick up the project again by restoring the Nighthawk to it's (sort of) original state, just with some modifications such as different handlebars, indicators, mirrors, just to make it a bit more sporty and modern. The idea is to make a road trip next year with it, so maybe I'lll add some engine guards with highway pegs (if I can find them), luggage rack and hand guards.
Last week I bought all the parts that were missing from the rear side of the bike, being the metal and plastic fender, rear light, chain cover, rear cowl and a bunch of mounting screws, rubbers and springs. For now I'm just reassembling the bike completely so I can see what parts are missing or need to be replaced or upgraded. First I mounted the rear side:

I also have a nice digital Koso dashboard with speed, revs, temperature, clock and battery indication that I have been using on the bike since the 'cafe racer' stadium and I'm planning to use it again. However to mount the dashboard close to the handlebars, I had to relocate the ignition switch. It ended up underneath the tank at the right hand side. I made an aluminum bracket for it and mounted it to the bracket the connects the engine to the frame.

I had to mount the engine and carburators first, to see if there was any space for the igntion switch.

Ignition switch mounted
As for now I'm just planning to build the bike to see if everything fits, then completely disassemble the bike again and paint the frame and other parts that need freshening up. I will also be ordering new parts such as a chain and sprockets, steel braided brake line, new bolts, gaskets here and there and what not.
Getting parts for this bike is not really easy in the Netherlands because the bike was never officially sold here, so all the Nighthawk 450's are imported from the US and Canada. The guy I bought the rear parts from told me there were only a 140 of them actually on the road in the Netherlands. Luckily I have most of the important parts now. I'll be probably ordering additional stufffrom David Silver from the UK and from CMSNL, a Dutch company specialized in Japanese OEM parts. They're expensive but they have all the little bolts, dust covers, gaskets, you name it.
Looking forward to get this bike riding again!


")


