Honda Twins banner

CD175 upgrade to 200cc, 12V, electric start, 5 speed gearbox

17K views 82 replies 8 participants last post by  goodoltup  
#1 ·
Hi all,
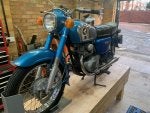
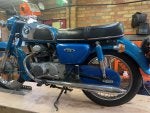
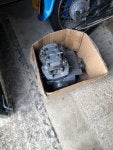
I'll use this as a project log for something I've had planned for a while. I have a 1976 CD175 here in the UK, for about 6 years now. It has a pretty nice patina, and has been mechanically rebuilt with new all new cables, tyres, brakes, bushings, etc. I just put new rear shocks on as well. (I should have documented that, but I bought some new shocks on Ebay from Thailand and swapped the blue covers to maintain said patina). The bike is a UK model with no electric start, and the kick shaft is worn out and it is very difficult to find a good replacement. The lights are WEAK and I would like a 12V upgrade with LEDs. It would also benefit from more power. And another gear. I would just drop in a CB200 engine, but I want to keep the single carb head. SO, let's just put a CD175 head on a CB200 engine.
Below is the bike.
 

Attachments

#3 ·
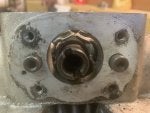
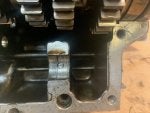
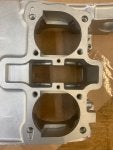
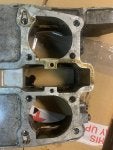
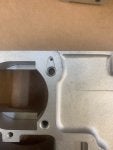
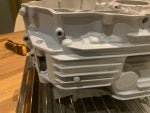
One thing to note: the CB200 does not have pressure fed oiling on the points side of the cam. See the picture below, there is no oiling hole (will try to add a CD175 head picture for comparison). On the CD the oil comes up the left rear head bolt, and is fed from a hole in the crankcase the leads to the oil galley. On the CB engine there is no hole in the crankcase. I think what I'll do is modify the cam carrier to accept splash oiling as the CB one does. I will cover all this with better pictures as it goes together.
 

Attachments

#4 ·
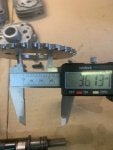
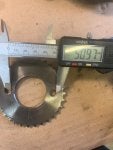
I want to use the CD cam, but because the CB crank has a different tooth count, you need to use the CB sprocket. Simo covered this in another thread. Here I confirm measurements. The cam sprocket that came with the CB engine is munched, so I ordered another one from Ebay. It is the same sprocket as in a CB350F (thanks again CMSNL). The cam that came with the CB engine was also munched, so can't use it anyway. Judging by some of the wear on this engine it has had a hard life with some poor maintenance practices and ham fisted reassembly.
 

Attachments

#14 ·
If you are going to use the 175 cam, I'd suggest that you use a 175 points side cam journal. The 175 head already has an oil hole in the cylinder head, to align with the oil hole in the 175 cam journal gasket, this is not present in the CB200 head. You would need to drill the tiny hole in the top of the CB200 crankcase, which is currently left blank. As you probably already know from reading Simos log, the 175 cam is oiled from both sides, the CB200 from the tacho drive side only, then through the cam to the points side journal. Possibly why we see so many CB200 cams with a melted journal on the points side.
Image
 
#7 ·
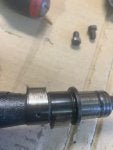
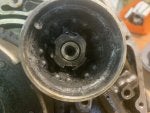
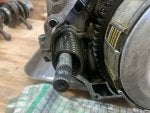
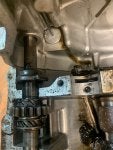
Weird damage to the kick shaft bores and retaining pin. What happened here to shear the pin, did the kick shaft get driven into the case somehow? The kick shaft was missing so I can't say. I will have to remove the pin somehow and dress the bores. I might try to tig a rod to it and slide hammer it out. Or maybe just drill a new hole at a different angle and install another pin. It only keeps the shaft from moving axially.
 

Attachments

#11 ·
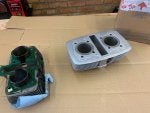
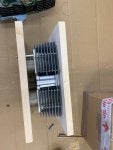
Parts have been removed and cleaned, as best as I can. Degreasing them is a real pain. First quote is ÂŁ230 for vapour blasting. More quotes coming.
 

Attachments

#16 ·
Here is a question: On the CB200 the cylinder studs are all the same length, but have a different part number for the ones noted in the picture. Those studs seem to have some kind of rubber bit around them. The CD175 are all the same part number. Anyone know why this is?
 

Attachments

#17 ·
It's just some kind of harmonic damper I think. Originally present on some 175 studs as well, but the rubber bit seems to go missing over time, obviously not a vital part.

BTW, the 200 studs are longer than the 175 ones, as the 200 block is some 10mm taller than the 175 part. You'll need to adjust the top engine mounting plates to suit, either elongate the mounting holes or get a CB200 top bracket.
 
#21 ·
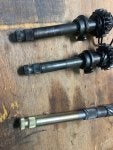
I was able to locate another kick start shaft. I have two now, one bad one, and one very bad one. I will take the very bad one and do a cut and shut with the new shaft shown in the first picture. It is a new kick shaft from a C90 I think, and it's the same 14mm diameter and splines. If I keep the circumferential weld in the right area I won't even have to skim it down. I'll make a male/female location pin on the two parts in the lathe, put a heavy chamfer on the parts, and tig them together.
 

Attachments

#23 ·
Hello there,
I'm going to do this exact conversion too but not started it yet, as you seem a lot more engineering/mechanically based than I am could i ask a couple of things? Is there any mechanical reason you didnt use the twin carb set up on the original CB200 engine and as I read it from above I'm going to need a set of CB200 top mounting brackets - do you know who might do these? and finally have you married up the engine in the frame yet re the alignment of the drive and back sprockets?
 
#24 ·
Hello Micker!
I want to keep the CD175 head because the single carb is simpler, and I won't have to rework the air filter/sidecovers etc. The two engines seem to have the same HP ratings (17 hp at 9000 rpm) so it didn't seem necessary to use the CB200 head. Also, I just wanted a project, and dropping in a CB200 engine wasn't interesting enough.
The top mounting brackets I will do myself. They are stamped steel plates, but I could make flat steel plates with spacers to make up the offset, and because it's under the tank no one will see it anyway.
I have not married up the engine and frame, but the drive alignment is the same as the major crankcase dimensions are the same between the CB/CD.
I need to receive the vapour blasted parts, send out the cylinders for rebore, and receive all my gaskets, then I can start the engine build, which I will document. I should be done by springtime so keep checking back!
 
#30 ·
Quick question to all:
Should I prime/paint the engine crankcases? I have some VHT Engine Enamel (primer, base, clear) ready to go. It's the aluminium colour.
How did these bikes come originally? Were only the side covers painted, and the crankcases left natural? Was everything painted? Were the cylinders and head painted?
I thought I could clear coat the crankcases, cylinder, and head if they came natural from the factory.
What are your thoughts?
 
#31 ·
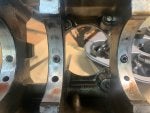
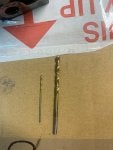
Crankcase oil mods. The CD case has a 3.0mm hole on the clutch side, and a 1.5mm (ish) hole on the alternator side. The CB case seemed to have a 1.5mm hole on the clutch side only. I have modified the CB case now to have the same holes as the CD case.
 

Attachments

#32 ·
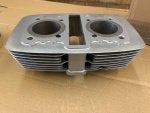
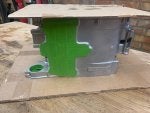
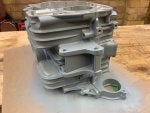
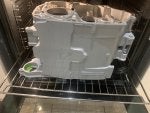
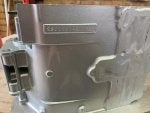
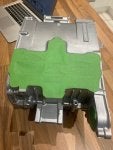
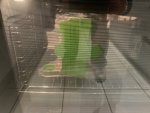
Also, I decided to paint the crankcases separately. I was considering building the bottom end and painting all the covers and cases at the same time, but that would get paint all over all the bolt heads and gaskets. I used Frog tape to mask the cylinder opening and the drain plug. I then put the engine in the oven to warm it up to about 60 degrees C. It is about 8 degrees in the garage, so no good for painting. With the warmed cases bolted together, I used cardboard to mask the clutch and alternator sides, and painted 3 coats of primer, and let it dry for 20 mins. They back into the oven for 100 degrees C for 20 mins. This is all per the instructions on the VHT documentation. Today I will repeat the process but with the base colour.
Last pic is the engine sleeping on the bathroom floor overnight. I didn't want to put it back in the cold garage, so it stayed in the spare bathroom.
 

Attachments