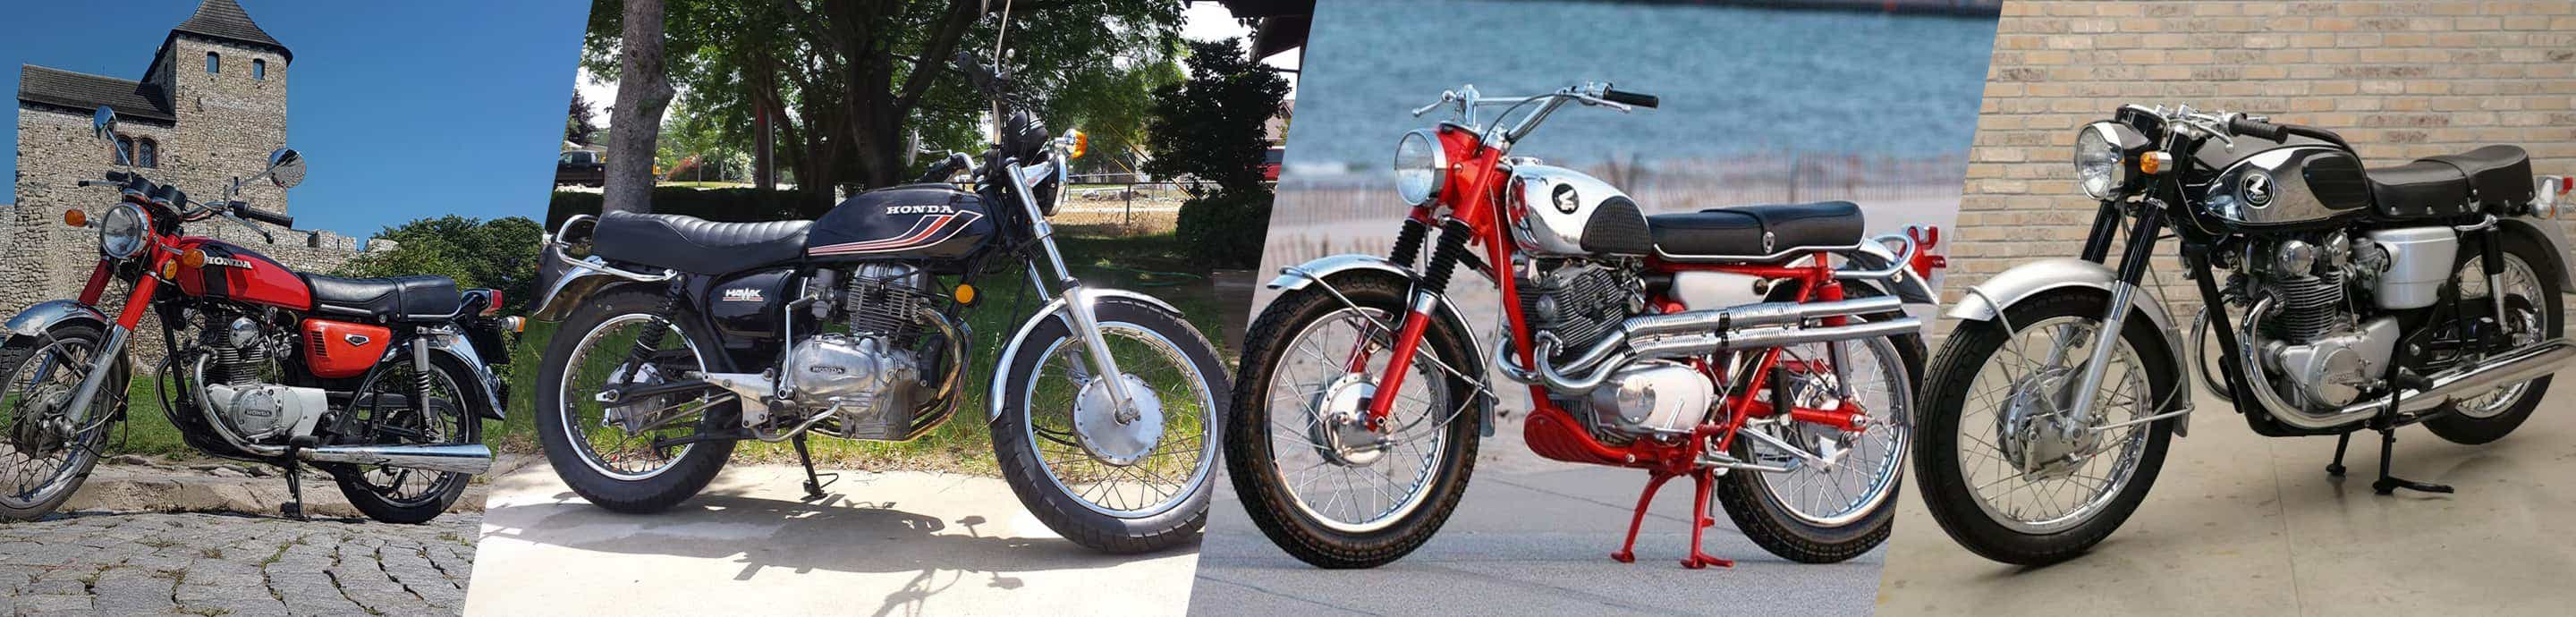
Honda Twins banner
21 - 40 of 63 Posts
Discussion starter · #22 ·
Didn't know I was being graded on grammar. So I looked it up, having it seen used both ways:

A dampener is someone or something that dampens.[SUP]3 [/SUP]So damper and dampener can both refer to one that deadens sound vibrations. But damper does not work for something that makes something slightly wet.

Reference:
http://grammarist.com/usage/dampen-damper-dampener/
 
Discussion starter · #23 ·
After lubing the clutch cable, which was pretty rough feeling one last pull to set the free travel and I heard a "snap" and the cable went limp. If the cable is broken I actually think this is a good thing. I'll replace it here in the garage rather than try to limp a sidecar rig home with a broken clutch cable....

I still need to take the lower case off to inspect but I'm pretty sure the cable just gave up the ghost.
 
Discussion starter · #25 ·
couple more pics:


Got a full garage now.. Yeah they are all mine.

 
John,
I think you should try adjusting your clutch(by the book sequence)as it may have just 'slipped' due to the lower adjustment on the engine being off;it's like a '3-step' process.A bit of fresh grease in the adj. cam on the engine will help also.
 
Nice garage, I'm envious! The windshield has a little bit of a X-Wing Star Wars look. Congrats on getting it started. That poor 350 looks like it has been run pretty hard.
 
Discussion starter · #28 ·
I haven't run compression tests but the bike only shows 5k miles and other than really dirty and greasy it's in pretty good shape.

Bilbike, you might be onto something. After I test ran it I pushed the rig onto the lift and out of habit I grabbed the clutch and the lever had normal resistance. I want to pull the lower side cover off and lube the mechanism under there and just look for any problems. Is that grease zerk, just above the adjusting nut on the lower cover, there for using a grease gun to lube the clutch mechanism? I don't think I've ever pulled that cover off of a 350.

 
John,
That's a factory Honda grease fitting for lubing the clutch 'mech.' but it would be better to remove that front sprocket/engine cover there w/ the clutch 'mech' and clean the individual parts and grease it by hand and then you can inspect the engine seals behind that cover also;you may want to install an American 'zerk' grease fitting then to make it easier to inject grease w/ a standard grease gun.

You'll need to remove the shifter levers(take notice of the orientation/position of the height of the lever assm. and maybe a pic so installation is easy)and then use a good JIS crosspoint screwdriver.I recommend using allen head cover bolts in the future to re-install it so it'll stay on securely and be solid w/ your clutch adjuster,etc.
 
Discussion starter · #30 ·
John,
That's a factory Honda grease fitting for lubing the clutch 'mech.' but it would be better to remove that front sprocket/engine cover there w/ the clutch 'mech' and clean the individual parts and grease it by hand and then you can inspect the engine seals behind that cover also;you may want to install an American 'zerk' grease fitting then to make it easier to inject grease w/ a standard grease gun.

You'll need to remove the shifter levers(take notice of the orientation/position of the height of the lever assm. and maybe a pic so installation is easy)and then use a good JIS crosspoint screwdriver.I recommend using allen head cover bolts in the future to re-install it so it'll stay on securely and be solid w/ your clutch adjuster,etc.
Thank you sir. Good info and what you say makes sense to use allen bolts to hold it securely. If you note, in the pic, the bottom left screw is missing and that has to allow that cover to flex. That might account for the POP I heard and the clutch not working. I thought is was a broken cable. I think I mentioned it but the clutch lever/cable started to work again after my test run of the engine.

A side note. Thanks for not mentioning that those covers really need to be cleaned up and polished. I'm waiting for a new petcock so I have a few days to do some clean up and tune up before my first test ride. I love reviving these old bikes. To me it's not work but play time. As you can see I have plenty of bikes to ride when the weather is above freezing. Those two bikes in the foreground were barn/yard finds. The blue one is a 81 GS750E and the black one is an 83 KZ1100. The GS would be a good candidate for the side car if the 350 doesn't work out. But for now I'm sticking with a CL350 with a sidecar. It doesn't get a lot more rare than that.
 
John -

I am seriously loving everything about this! Congrats on getting it started.

If your son won't go for a flame theme on the sidecar (although you have my vote for whatever that counts) you could go for the opposite of fire: paint a waterline and/or waves along the side.
 
That windshield is starting to grow on me!!
 
Discussion starter · #33 ·
Pulled the rear lower cover off to clean it up and make sure the clutch mechanism is clean and greased. Then spent about an hour cleaning the cover and polishing it. I polish aluminum until I get tired so it's not perfect but looks a lot better. But now I've done it. Have to pull all of the covers off and polish them too:


After:

 
Discussion starter · #34 · (Edited)
John,
I think you should try adjusting your clutch(by the book sequence)as it may have just 'slipped' due to the lower adjustment on the engine being off;it's like a '3-step' process.A bit of fresh grease in the adj. cam on the engine will help also.
That is exactly what happened. I removed the clutch cable and it looked to be in perfect shape except there were some abrasions in the outside sheathing which I repaired with marine grade shrink tube. Lubed the cable and installed it. Following the FSM on the adjustment it is now perfect and no more snap. That tells me the clutch cable had not been adjusted for a while. Also it was routed wrong, which caused the abrasions. My repairs are all under the tank so the black shrink tube is not visible with the tank installed.

I got a 30% off coupon from D2Moto so I ordered a new chain and both drive sprockets last night. I opted for a 16 tooth drive sprocket and 38 tooth rear sprocket. That is, I think, 2 teeth more on the rear which should help with acceleration. I think while I've got the exhaust off, now is the time to pull the carbs and clean/adjust them. Also a good time to adjust cam tension and valve lash and ignition timing. When I had it running it sounded a little on the retarded side and probably not the same advance right to left. This is the fun part of a revive. The attached sidecar makes working on the right side of the engine a challenge. I had to disconnect one mount to remove the exhaust. Only 3 more mounts and I can pull the sidecar off if I want.
 
  • Like
Reactions: bilbikek411
John, the side cover looks great. The problem is, once you do one it makes the others look worse and all of us know you know how to do it :)
 
Discussion starter · #36 ·
John, the side cover looks great. The problem is, once you do one it makes the others look worse and all of us know you know how to do it :)
My intention was to clean up the side covers anyway. That is just the first one I pulled. The more I work on this old rig the more I'm liking it. Weather turned bad so I've got nothing else to do but to take my time and play with it. I've revived dozens of old bikes but that was to flip them. I bought this one to ride and take my grand kids for rides.
 
Discussion starter · #37 ·
Been a busy day working on the sidecar rig. I got the carbs pulled and clean and adjusted. Left side float was way off and right side mixture screw was off a lot. Otherwise they were pretty clean inside.

Got the old girl tuned up. Valve lash was too tight and as I suspected the right side ignition timing was retarded. Left side was just a couple of degrees slow as well. Since you have to pull the stator cover to adjust cam tension, valves and timing I took a couple of hours to clean it up.


Side car rigs are a serious PIA when you have to do anything to the right side of the bike. :lol:

I may take it off the lift and remove the side car for the right side engine work. Fortunately the PO left the center and side stand attached. All I really have to do is clean the oil filter and I think I can do that with the sidecar attached. But eventually I will pull the clutch cover and clean and polish it.

I'm done for the day. Waiting on petcock, fuel filters, drive chain and both sprockets. Once I test ride it I'll order new tires, tubes and possibly brake shoes. It ought to be about done then.
 
  • Like
Reactions: Fury5 and ctrider
Discussion starter · #39 ·
thank you sir!

Should have done the post like this before and after. I'm pleased with the results. I probably won't work on it too much tomorrow. The hot water heater just started leaking. Still have hot water but the basement is getting wet. I hate plumbing.


  • Like
Reactions: bilbikek411
Wow! Really looking nice! You work fast, not the procrastinator that I am, lol
 
21 - 40 of 63 Posts