
One of the guys suggested I document the engine removal and rebuild process. I did a search on the forum and did not see a detailed engine removal and rebuild thread, so I decided since I'm doing this again - on the blue bike this time - I might as well publish the photos. I take lots of photos when I disassemble things to make sure I have a reference to put them back together. So here goes. I'll post photos as I go along.
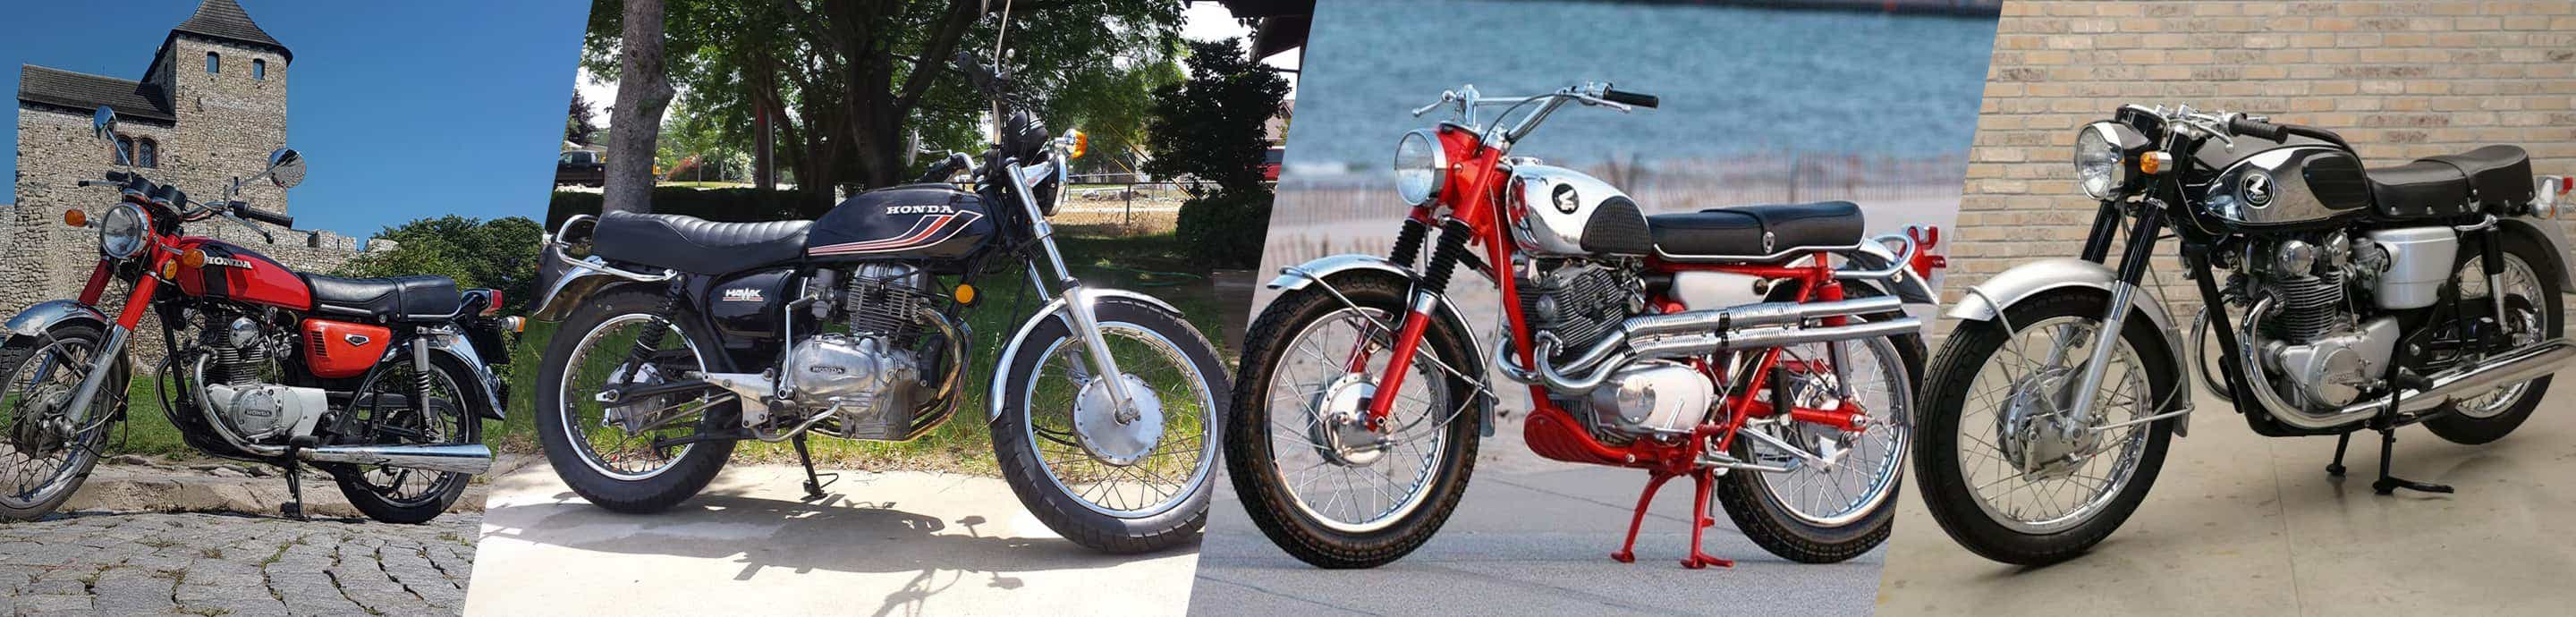
The story begins with the red SL350 that I restored. The engine was not running when I bought the bike, so I just tore right into it and completely rebuilt it, cylinders by Bore-Tech, cam by Delta camshaft, head work by Action Cycle and new Barnett clutch bits. So the red bike runs very well.
When I bought the blue bike, I needed to get the lost title process started, so I just restored everything on the bike except the engine since it was running when I bought it. Clutch was stuck, but I got it freed up OK. I just painted the engine and tossed it back in. After got it registered and re-assembled, I started riding it and tuning it up, but quickly discovered it has low compression, 120 on the left cylinder and minimum -150 - on the right jug. So I just rode it, until the rain started here in the Puget Sound and now I'm taking it apart to get it running like the red bike's engine. Right now, when I ride the red bike, there's just no comparison with the blue engine - that blue engine is just not putting out! While timing the engine and finding TDC, I could hear the compression sliding past the rings into the crankcase on the left cylinder, so I figured it's time for a trip to Bore-tech for these cylinders.
I am not an expert on motorcycles, Hondas or the 350's, so please chime in with your tips, tricks and traps - everything I show here I learned the hard way or by reading this forum and the manuals, your comments are greatly appreciated and welcome. For you noobs out there, I believe you can easily take one of these engines apart, have the machine work done by a good shop and get it back together with an excellent chance of success, if I did it, anyone can do it! And if you screw something up, or forget something, you can always take it back apart!
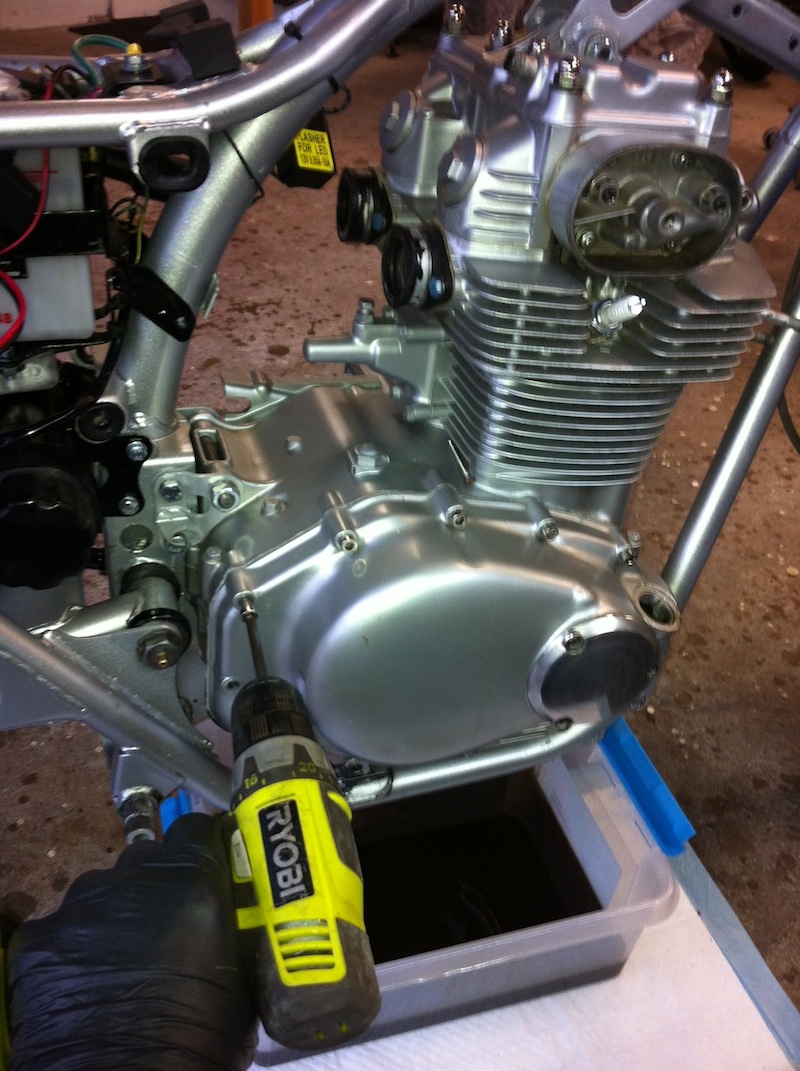
So here goes, first step is to get the engine out of the bike - so, drain the oil:
![Image]()
Disconnect everything that is attached to the engine.
![Image]()
Put the associated bits into baggies and label them. I've done this once before, so I have an idea of what goes where, but on my first time, I was looking at photos a lot wondering where that specific bolt went and where I was going to find it. Keeping everything together and taking lots of photos reduces the head-scratching time significantly!
Disconnect the stator plug:
![Image]()
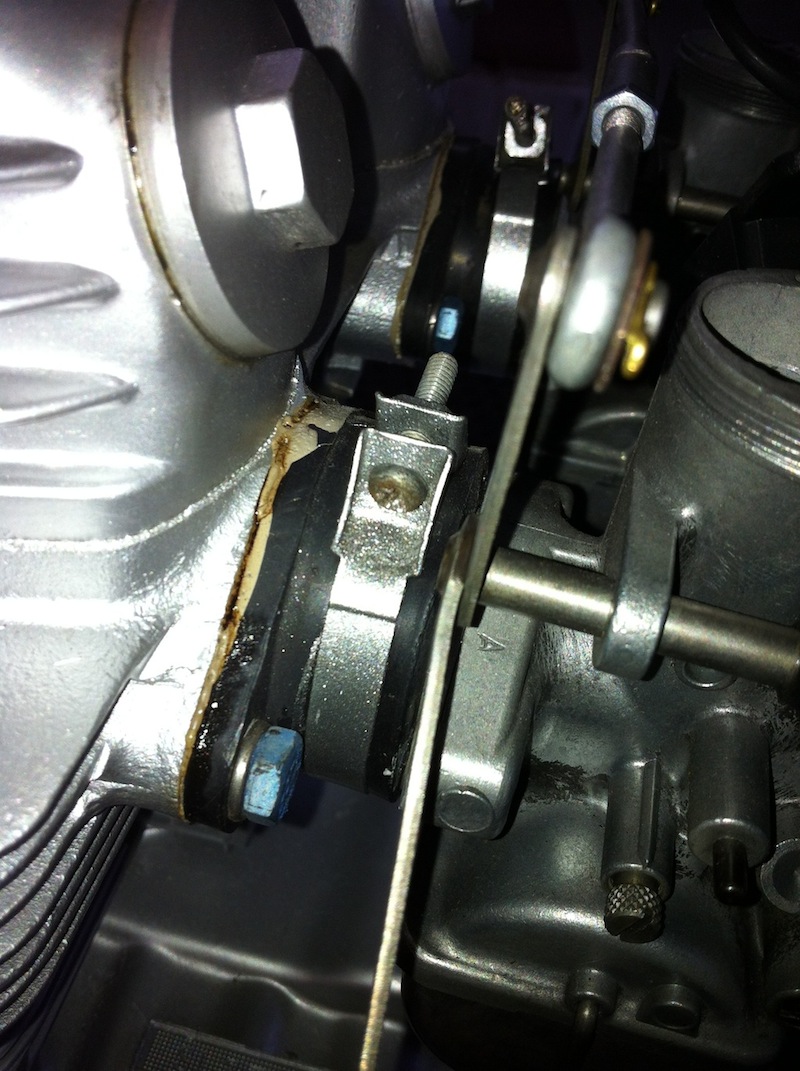
Remove the carb clamps and remove the carbs:
![Image]()
Remove chain and sprocket:
![Image]()
Remove clutch side cover because it drains the rest of the oil and you can remove the clutch and other heavy components while the engine is till fastened to the bike and you can put some torque on the various nuts without rolling the engine around the shop with your breaker bar:
![Image]()
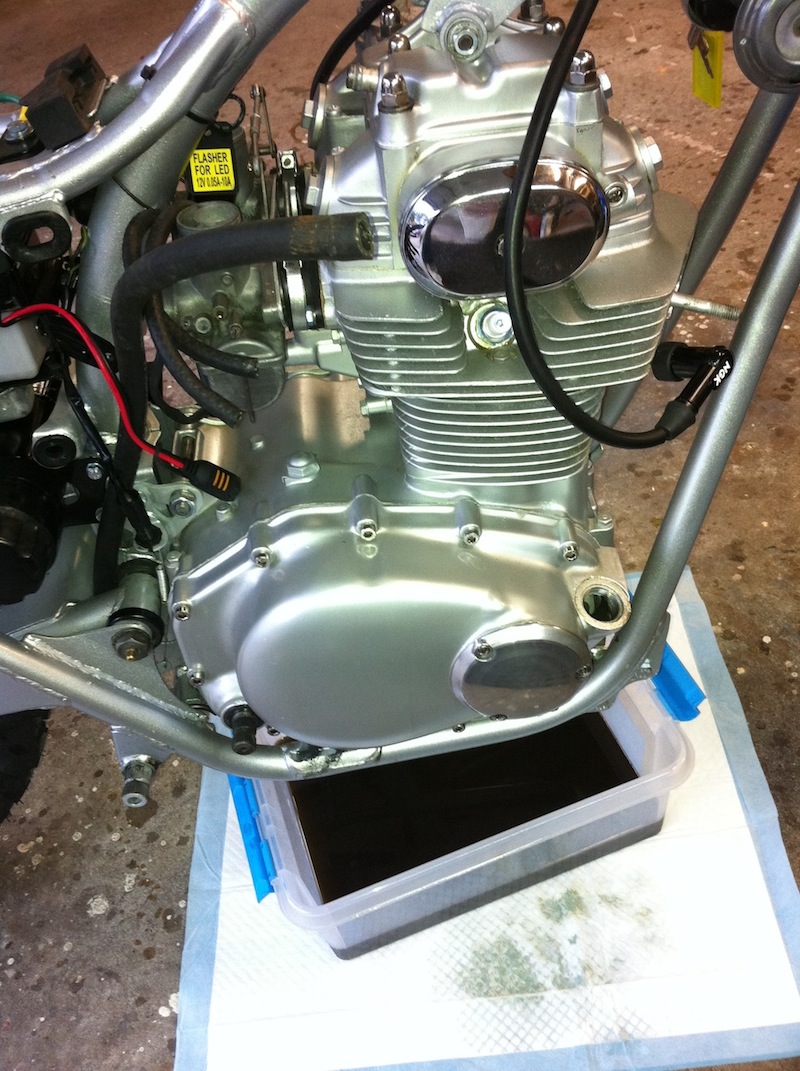
Oil draining:
![Image]()
More later...
The story begins with the red SL350 that I restored. The engine was not running when I bought the bike, so I just tore right into it and completely rebuilt it, cylinders by Bore-Tech, cam by Delta camshaft, head work by Action Cycle and new Barnett clutch bits. So the red bike runs very well.
When I bought the blue bike, I needed to get the lost title process started, so I just restored everything on the bike except the engine since it was running when I bought it. Clutch was stuck, but I got it freed up OK. I just painted the engine and tossed it back in. After got it registered and re-assembled, I started riding it and tuning it up, but quickly discovered it has low compression, 120 on the left cylinder and minimum -150 - on the right jug. So I just rode it, until the rain started here in the Puget Sound and now I'm taking it apart to get it running like the red bike's engine. Right now, when I ride the red bike, there's just no comparison with the blue engine - that blue engine is just not putting out! While timing the engine and finding TDC, I could hear the compression sliding past the rings into the crankcase on the left cylinder, so I figured it's time for a trip to Bore-tech for these cylinders.
I am not an expert on motorcycles, Hondas or the 350's, so please chime in with your tips, tricks and traps - everything I show here I learned the hard way or by reading this forum and the manuals, your comments are greatly appreciated and welcome. For you noobs out there, I believe you can easily take one of these engines apart, have the machine work done by a good shop and get it back together with an excellent chance of success, if I did it, anyone can do it! And if you screw something up, or forget something, you can always take it back apart!
So here goes, first step is to get the engine out of the bike - so, drain the oil:
Disconnect everything that is attached to the engine.
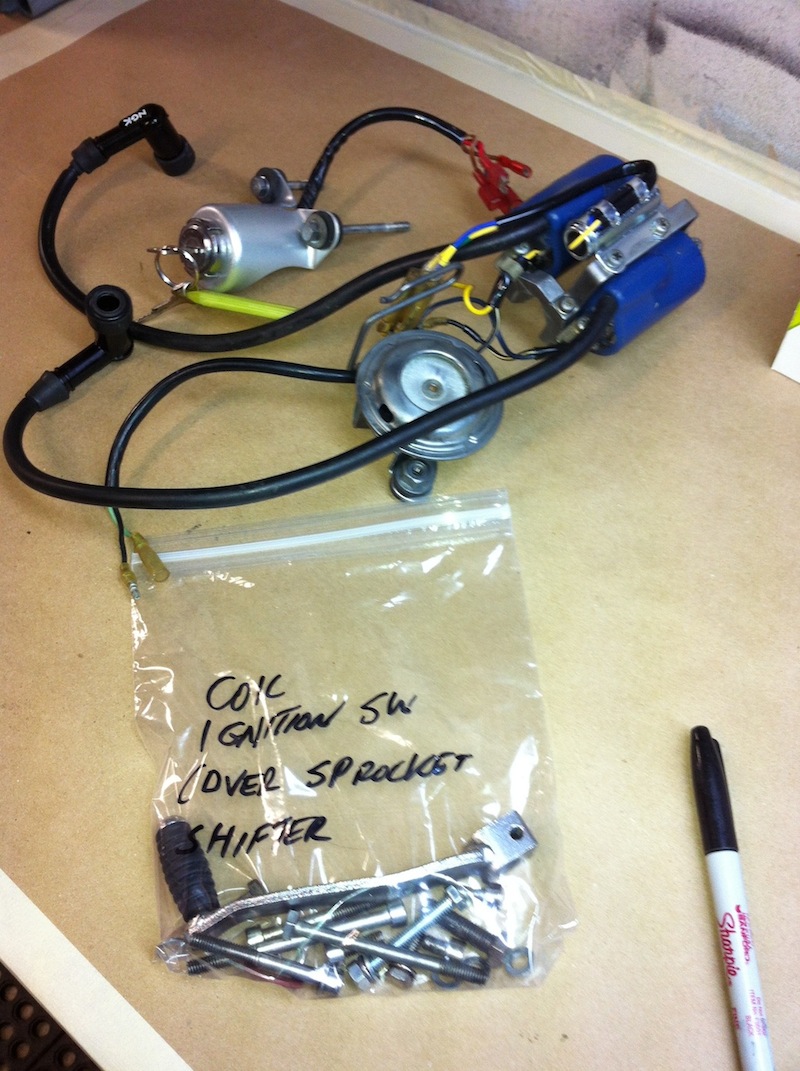
Put the associated bits into baggies and label them. I've done this once before, so I have an idea of what goes where, but on my first time, I was looking at photos a lot wondering where that specific bolt went and where I was going to find it. Keeping everything together and taking lots of photos reduces the head-scratching time significantly!
Disconnect the stator plug:
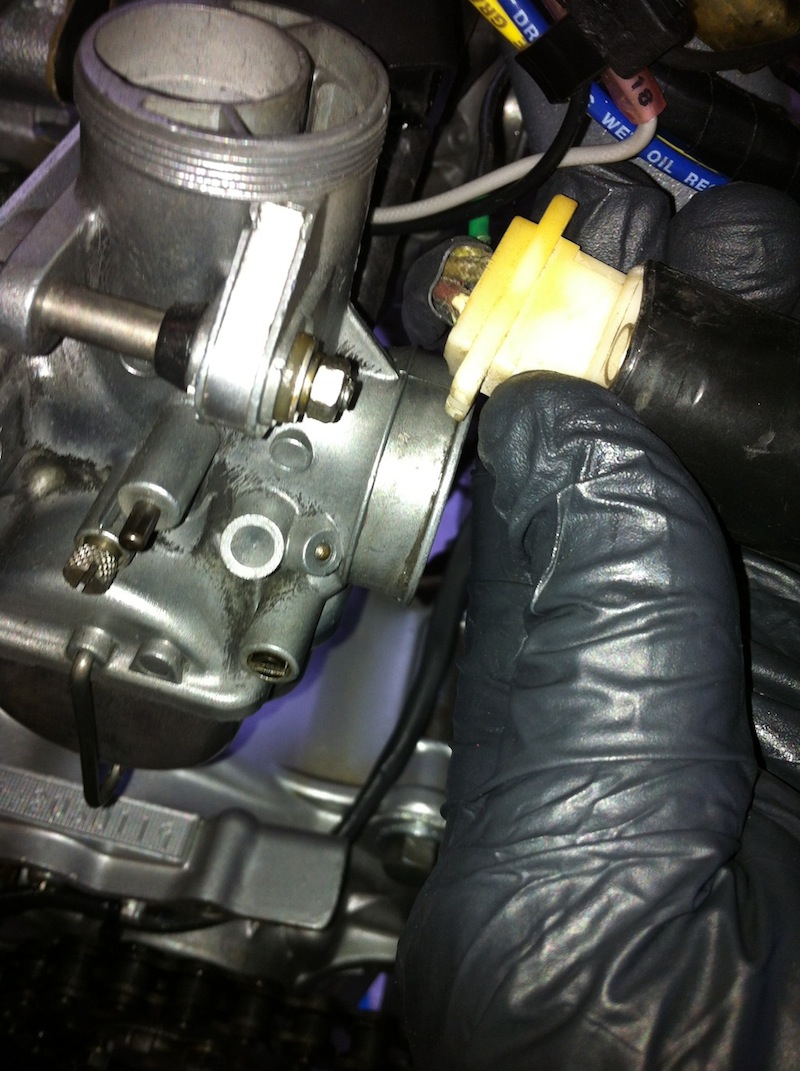
Remove the carb clamps and remove the carbs:
Remove chain and sprocket:

Remove clutch side cover because it drains the rest of the oil and you can remove the clutch and other heavy components while the engine is till fastened to the bike and you can put some torque on the various nuts without rolling the engine around the shop with your breaker bar:
Oil draining:

More later...


